🛠️ Custom Tools
Custom Tools let you extend xMagic with your own server-side logic—perfect for proprietary APIs, data pipelines, or specialized workflows. Follow the steps below to register a tool and make it available to any Job.
1 Open the Custom Tools Panel
In the left navigation, click Custom tools.
2 Create a Tool
Click Create tool in the upper-right corner and fill out the form.
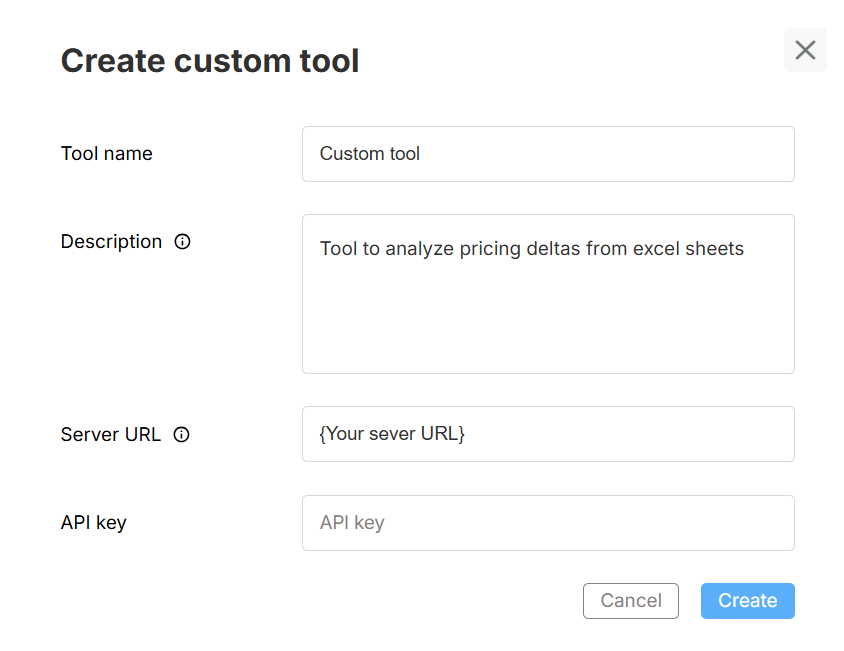
| Field | Description |
|---|---|
| Tool name | A short, descriptive title (e.g., “Pricing Delta Analyzer”). |
| Description | Explain what the tool does; this appears in Studio. |
| Server URL | The public HTTPS endpoint of your MCP (Middleware Compute Platform) service. |
| API key | (Optional) Secret token your service uses to authenticate inbound calls. |
Click Create to finish.
3 Verify the Tool
Your new tool appears in the Custom Tools list.
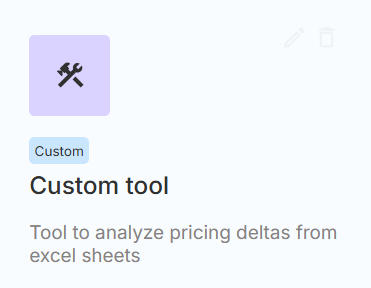
Use the ✏️ icon to edit details or the 🗑️ icon to delete the tool at any time.
4 Attach the Tool to a Job
- Open Studio for any Agent.
- Select or create a Job.
- In the Tools section, choose your newly-created custom tool.
- Configure any Job-specific parameters (timeouts, retries, etc.).
- You can also add custom tools through the Assisted mode in your studio.
- Save and Deploy the Agent.
The Job can now invoke your external service whenever the workflow requires it.
Best Practices
| Tip | Reason |
|---|---|
| Use HTTPS and rotate API keys regularly. | Keeps data secure. |
| Return well-structured JSON responses. | Easier for the Agent to parse. |
| Log request IDs on your server. | Simplifies debugging. |
| Gracefully handle timeouts and errors. | Prevents broken conversations. |
Need help? Head to Contact Support.