🤖 Creating and Configuring an Agent
Follow this guide to create a new Agent, configure Jobs and Tools, and deploy your conversational AI to production.
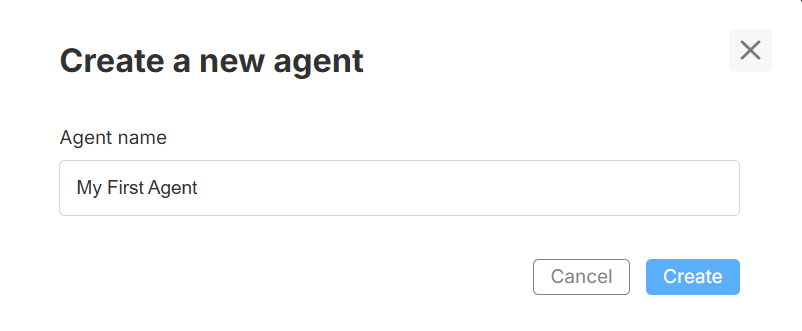
Create new Agent
Click + New Agent under Your agents in the left sidebar and enter a name.
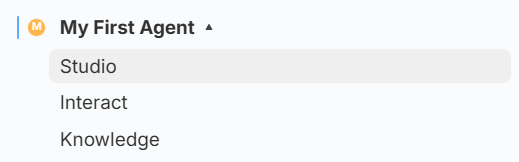
The Agent appears with five subsections:
| Sub‑section | Purpose |
|---|---|
| Interact | Talk to the deployed version of this Agent. Great for production checks. |
| Knowledge | See every data folder attached to the Agent’s Jobs; add or remove sources. |
| Threads | View external/public chat sessions started from the shared agent link. |
| Artifacts | Download files generated by Jobs (CSVs, PDFs, etc.) in one place. |
| Studio | Build and edit the Agent: prompts, Jobs, tools/workflows, Shortcuts. |
Knowledge Sub-section
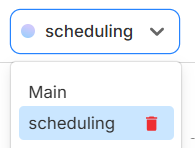
When you open Knowledge inside an Agent, use the drop-down to switch between Temporary (current, unsaved configuration) and Deployed (live version) data folders.
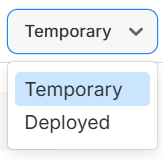
- Temporary – lets you experiment with new files before deployment.
- Deployed – shows the folders your production Agent is currently using.
Studio Layout
Studio is split into two panels:
| Panel | Description |
|---|---|
| Configuration | Where you create or edit Jobs, attach Tools, and tweak prompts. |
| Preview | Live chat window showing responses from the current (unsaved) configuration. Use the dropdown to switch between Agent and any individual Job preview. |
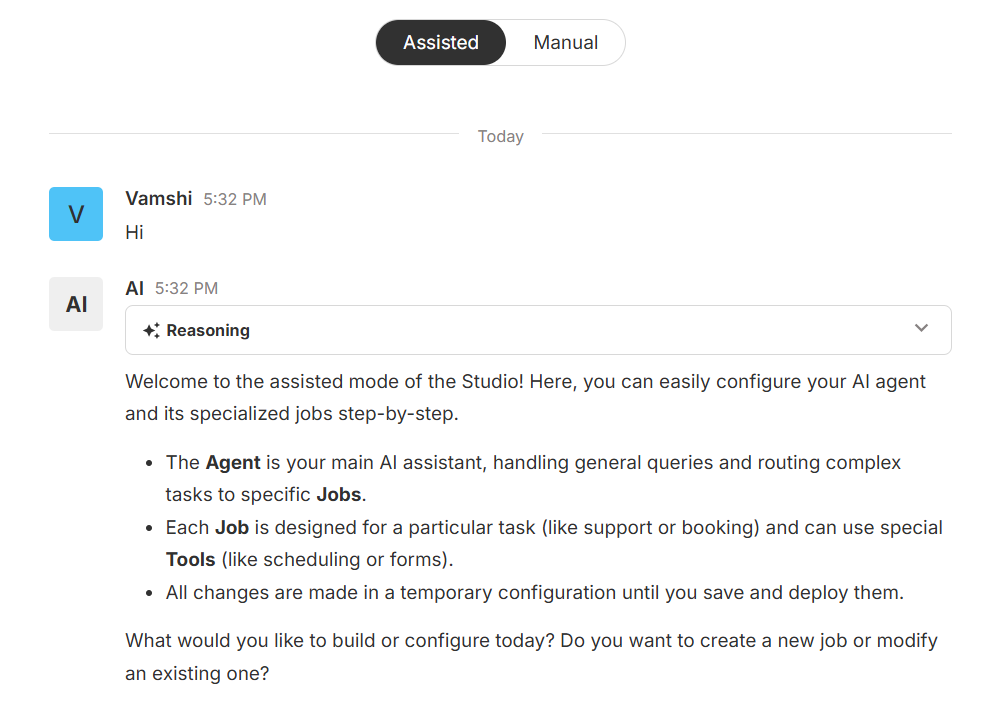
Assisted vs Manual mode
- Assisted – Natural-language wizard; perfect for beginners.
- Manual – Direct access to advanced settings; ideal for power users.
Switch modes at any time—the underlying configuration stays in sync.
Core Concepts
Agent
The Agent is your primary AI assistant. It answers broad queries, maintains context, and routes task-specific requests to Jobs.
Job
A Job is a focused workflow attached to an Agent (e.g., scheduling, ticketing). Jobs can invoke multiple Tools—including any Custom Tools you have registered.
Default Tools
| Tool | Capability |
|---|---|
| Question Answering | Default Q&A engine |
| Scheduling | Manage and book appointments |
| Form Filling | Capture structured user input |
| Ticket Forwarding | Escalate to live support |
| Sheets Analysis | Process spreadsheets in-line |
| Outbound Phone Call | Place calls via a call-details sheet |
Attach any of these—or your own Custom Tools—to a Job for extra power.
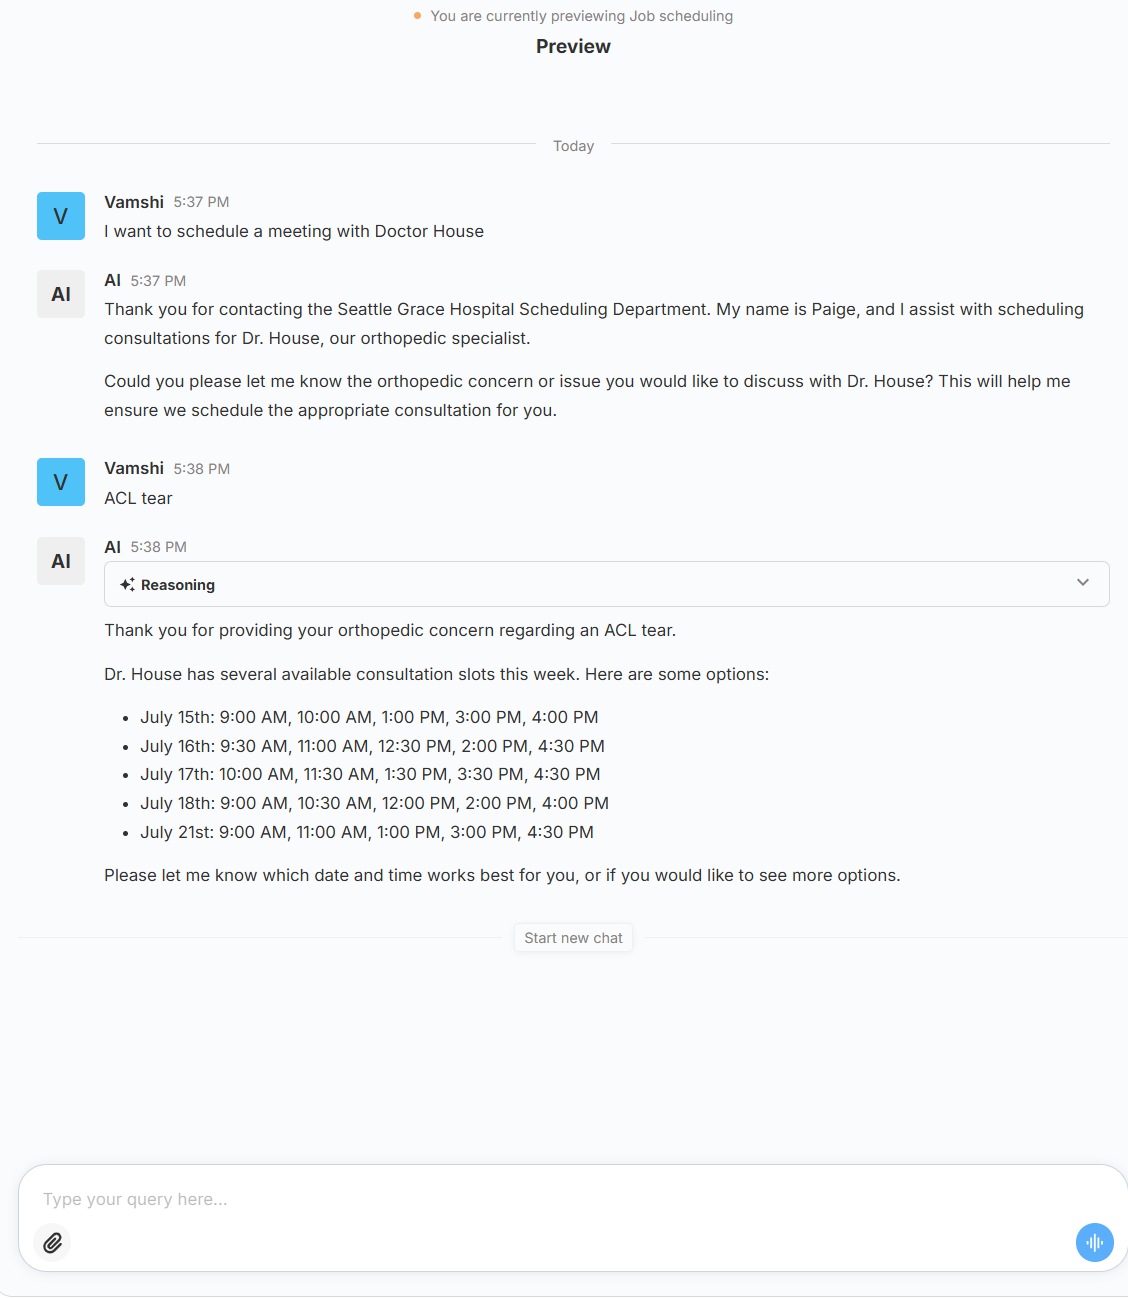
Preview and Test
Use the Preview window to chat with:
- Agent – tests the collective logic of all Jobs.
- Specific Job – isolates a single workflow.
Save, Deploy, and Load Versions
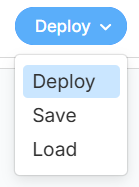
| Action | Result |
|---|---|
| Save | Store the current draft under a version name (not user-facing). |
| Deploy | Publish the saved version to production; Interact now points to it. |
| Load | Re-open any saved or deployed version for further editing or rollback. |
Interact
After deployment, switch to Interact to chat with the live Agent exactly as end-users will experience it. This is the fastest way to sanity-check answers in production.
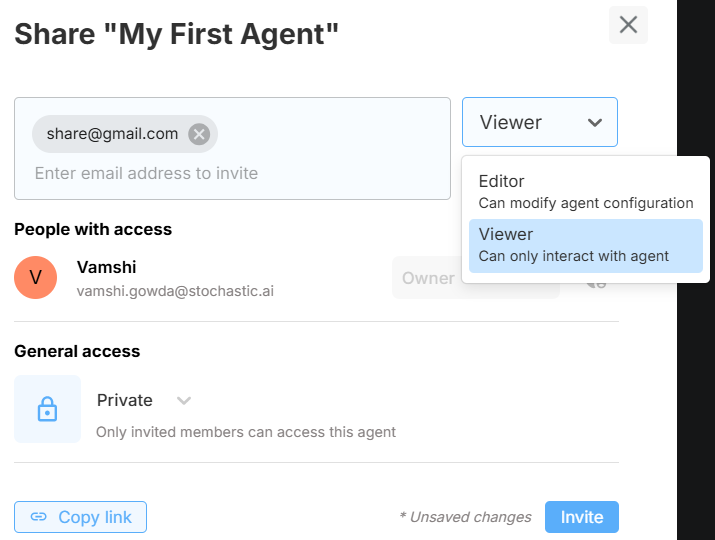
Share Your Agent
You can share an Agent with teammates or external collaborators.
- Click Share in the top-right corner of Studio.
- Invite users by email and choose their role: Editor (can modify configuration) or Viewer (can only interact).
Access levels
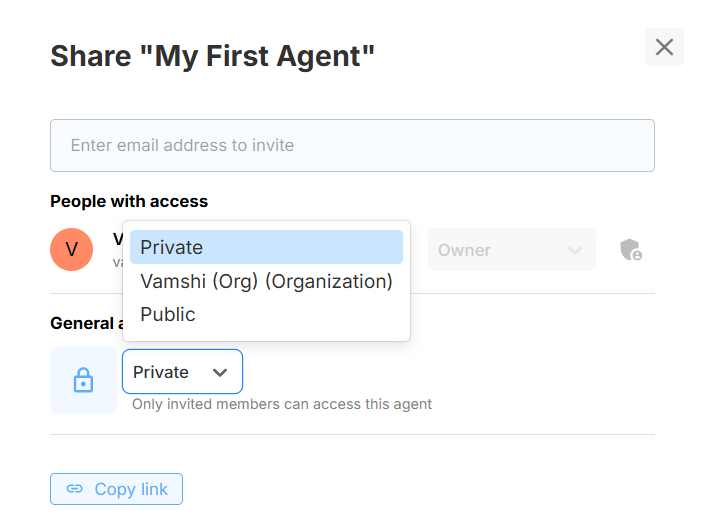
| Level | Who can access |
|---|---|
| Private | Only explicitly invited people. |
| Organization | Everyone in your xMagic Organization. |
| Public | Anyone with the link—even without an xMagic account. |
Important: Set the Agent to Public before sharing with external users, then click Copy link to distribute the URL.
Public Web View
When you set Access level → Public and share the link, users without an xMagic account will see a lightweight chat interface like this:
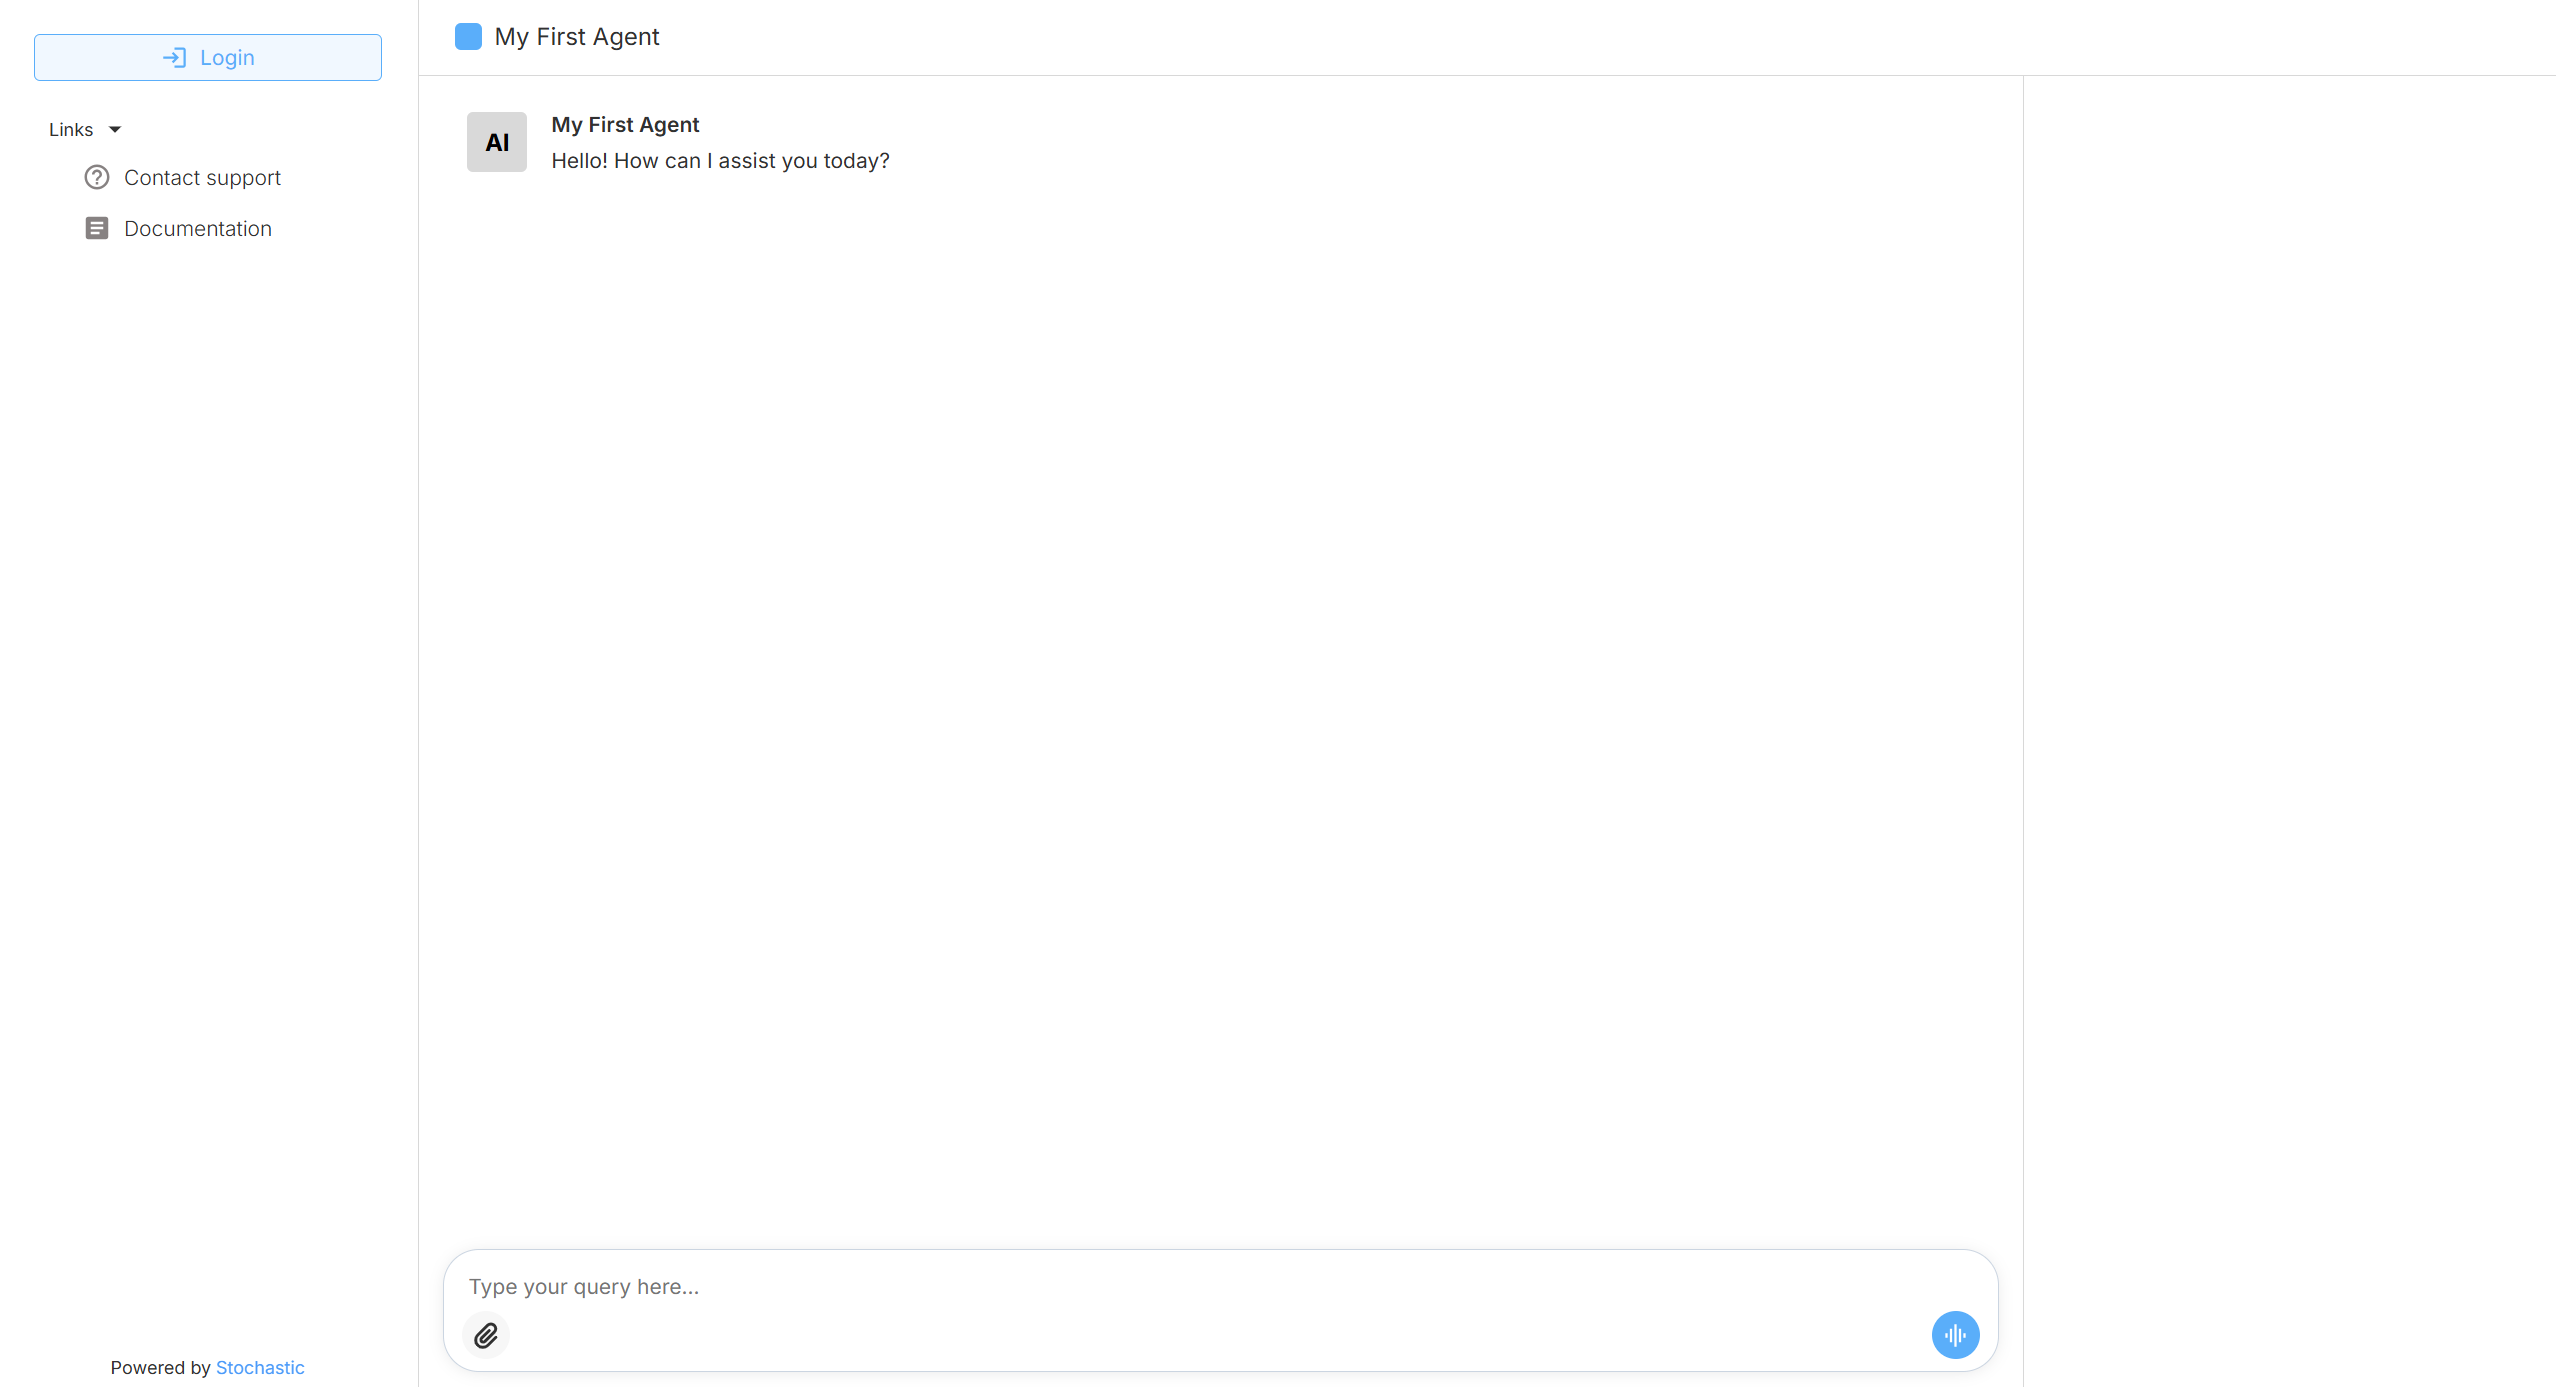
- A Login button appears for returning users, but new visitors can chat immediately.
- The left sidebar can include helpful links (support, documentation, etc.).
- All messages are routed to the deployed version of the Agent, ensuring consistency with the production environment.
Need help? Head to Contact Support.