🎟️ Ticket Forwarding
Ticket Forwarding Configuration
The Ticket Forwarding tool allows seamless integration of fallback options when AI interactions do not suffice. You can configure the system to escalate unresolved issues through various channels such as email, Slack, Zendesk, or direct human assistance.
Setting Up Fallback Actions
-
Navigate to the Ticket Forwarding Section:
- Go to the
Configurationtab and selectTicket Forwarding.
- Go to the
-
Configure Fallback Options:
- Choose your preferred fallback action to handle queries the AI cannot resolve.
-
Options for Fallback Actions:
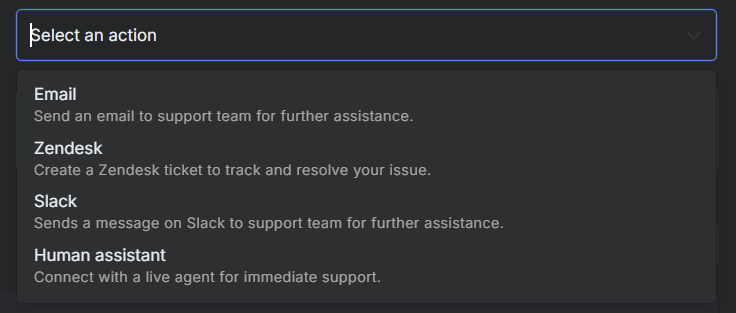
- Email: Set up to forward tickets to a specified support email.
- Email Address: Enter the email where tickets should be forwarded, e.g.,
support@stochastic.ai.
- Email Address: Enter the email where tickets should be forwarded, e.g.,
- Slack: Integrate with Slack to send messages directly to your team.
- Webhook URL: Provide the Slack webhook URL to enable messaging.
- Human Assistant: Allow direct phone communication if AI solutions fail.
- Phone Number: Specify the contact number for live support.
- Zendesk: Create tickets in Zendesk to manage and track issues.
- Organization Name: Specify the Zendesk organization.
- Email: Enter the registered Zendesk email.
- API Token: Provide the API token for Zendesk integration.
- Email: Set up to forward tickets to a specified support email.
-
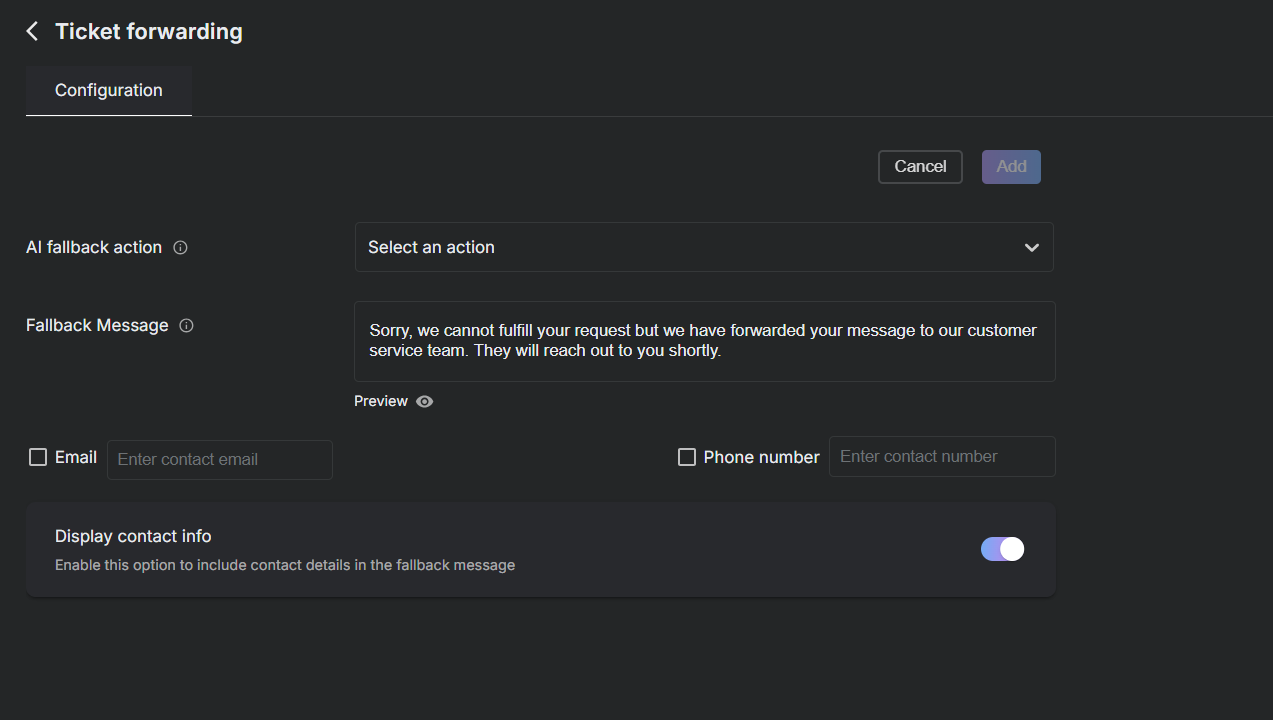
Customize the Fallback Message:
- Provide a default message that explains the fallback process to the user, enhancing transparency and trust.
-
Enable Contact Details Display:
- Choose whether to display contact details in the fallback message for direct user follow-up.
-
Save Your Configuration:
- After setting up all options, click
Addto save the configuration and activate the fallback mechanisms.
- After setting up all options, click
Managing Fallback Actions
- Review and modify your fallback settings as needed to ensure they align with current support strategies and user expectations. Regular updates and testing are recommended to maintain efficacy and responsiveness.
This configuration ensures that all user queries are addressed, either through AI or through direct human intervention, enhancing the overall efficiency of your support system.
Slack Integration
Sends a message on Slack channel when AI is unable to resolve a query
Obtaining Slack Webhook URL
-
Go to Slack Developer Portal
-
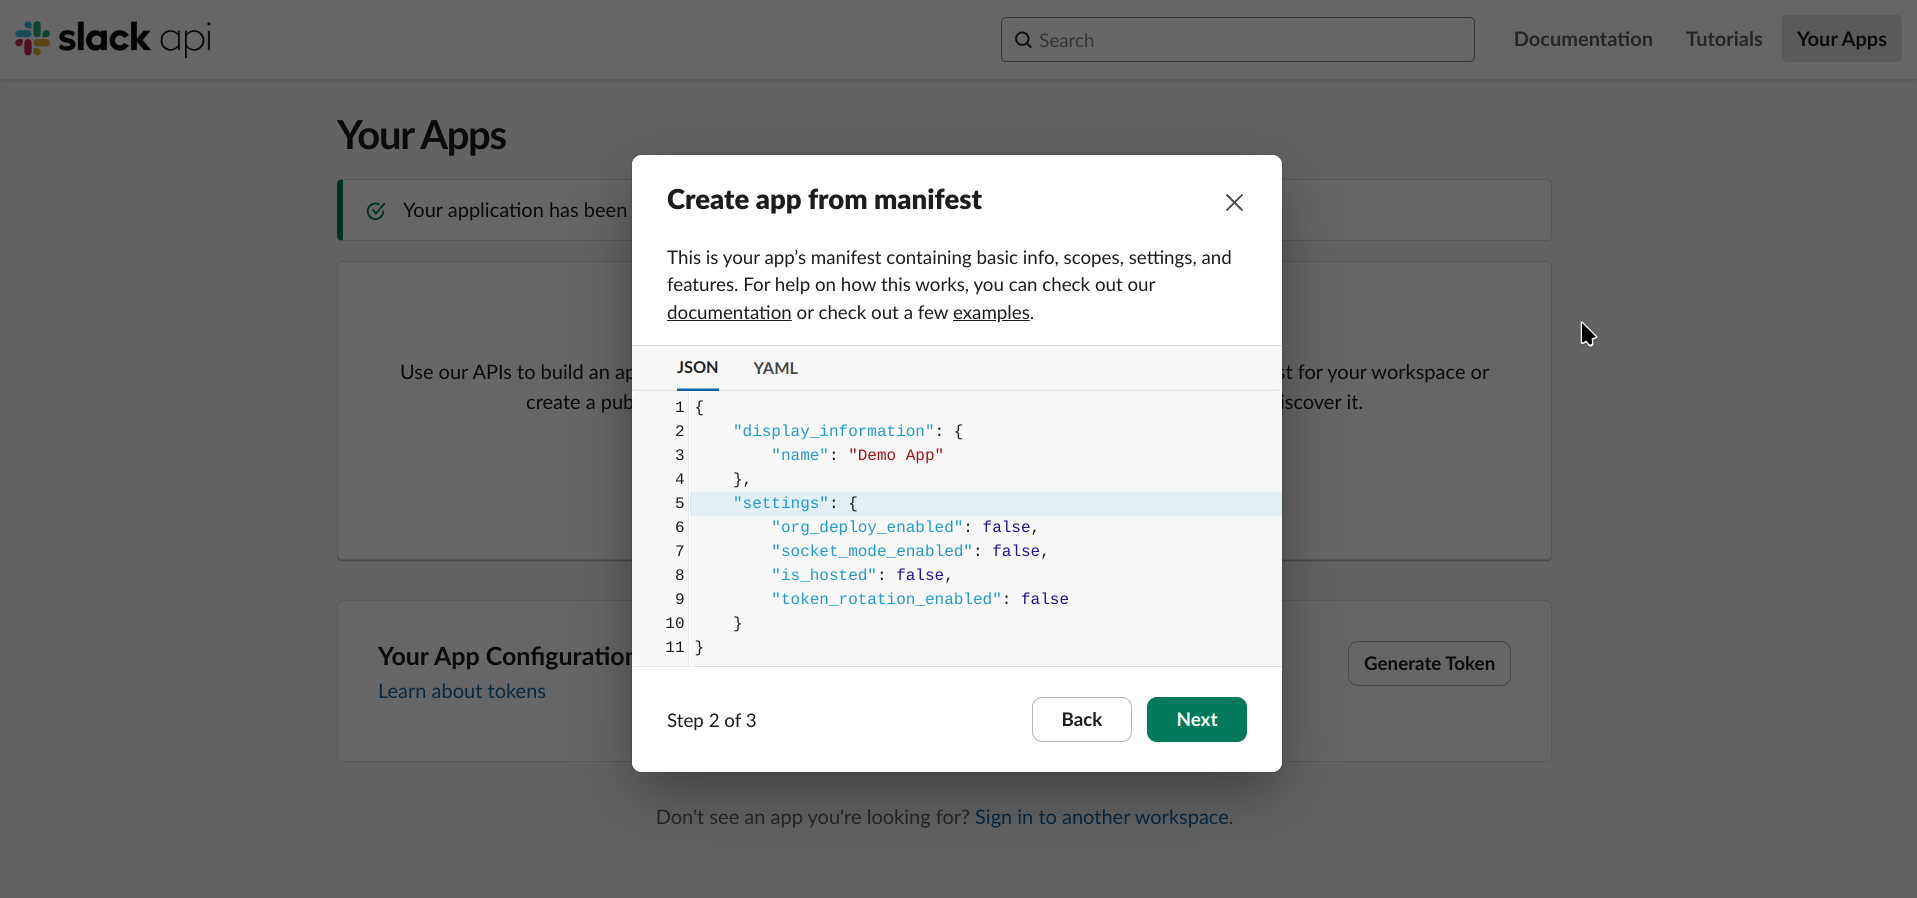
Create a new app
- Select 'From a manifest'
- Select your Slack workspace
- Give your app a name (optional)
- Click 'Create app'
-
Go to 'Features' > Incoming Webhooks'
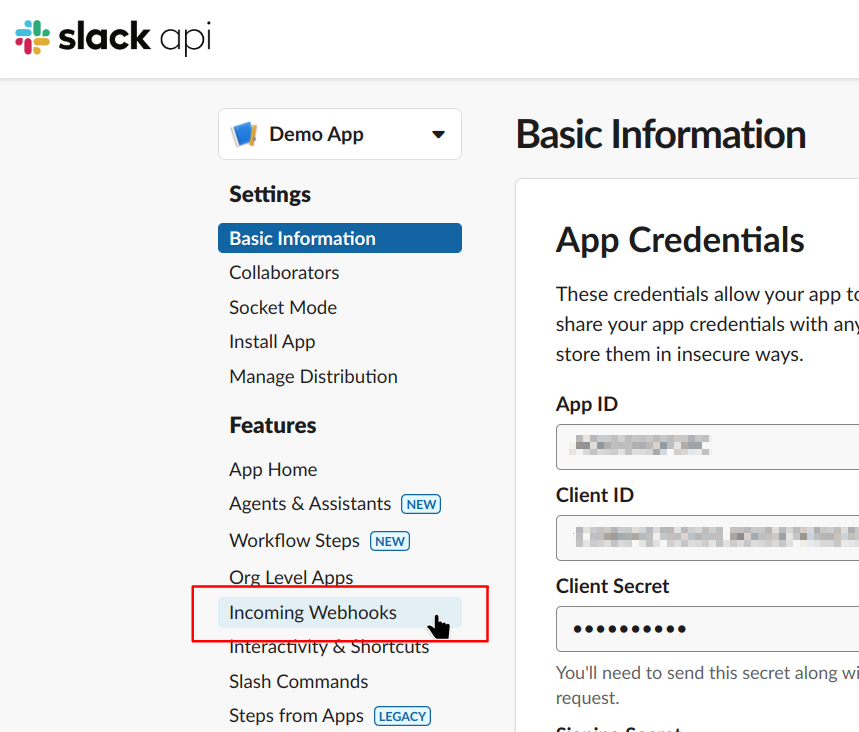
-
Turn on 'Incoming Webhooks'
-
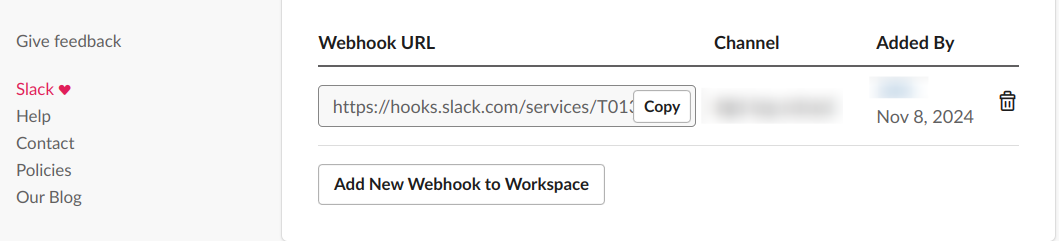
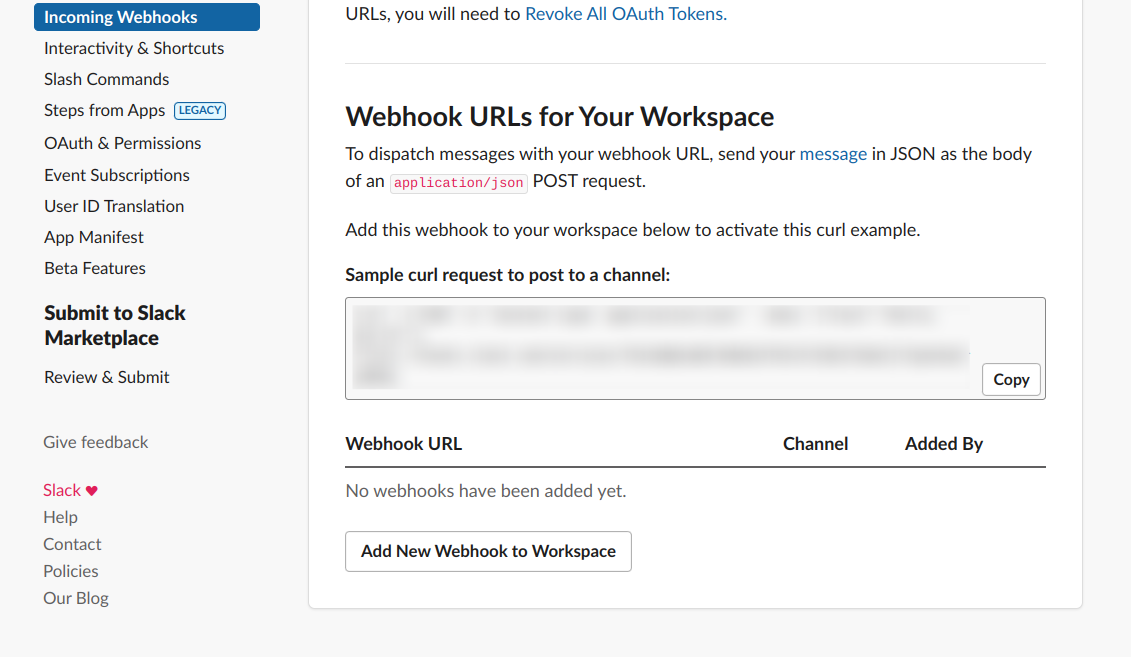
Scroll to the bottom and click 'Add new Webhook to Workspace'
-
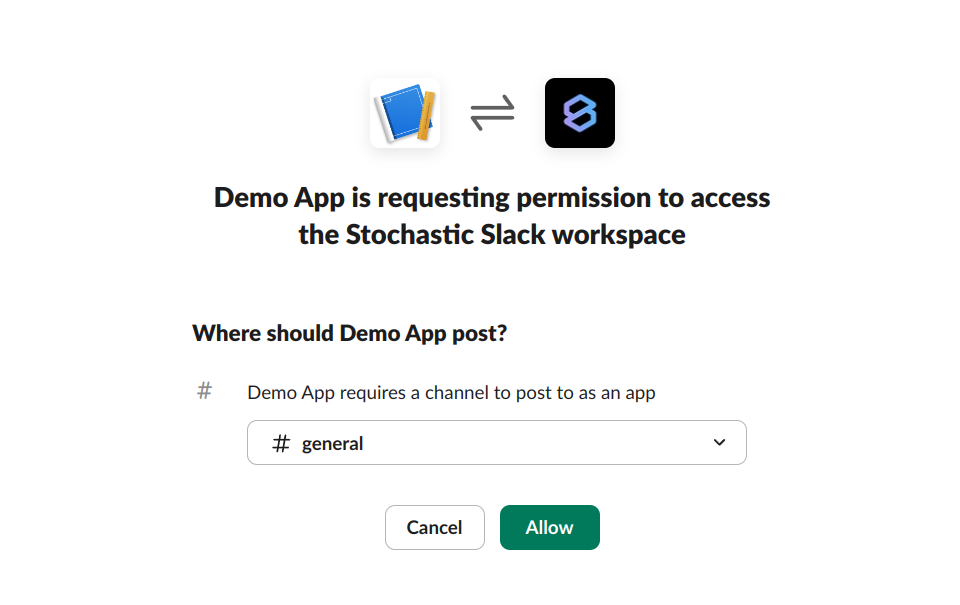
Select a channel where you want to receive messages from our agent
-
Click 'Allow' and proceed
-
Copy the 'Webhook URL' and paste it in the 'Slack Webhook URL' field