⚡ Shortcuts
Shortcuts in xMagic
Shortcuts in xMagic allow you to set up predefined actions that users can trigger during a conversation with the AI. These actions can streamline interactions by providing quick responses based on the user's needs.
Configuring Shortcuts
-
Access Shortcuts Configuration:
- Navigate to the
Configurationtab and selectShortcuts.
- Navigate to the
-
Create a New Shortcut:
- Click on
Create Shortcutto add a new action.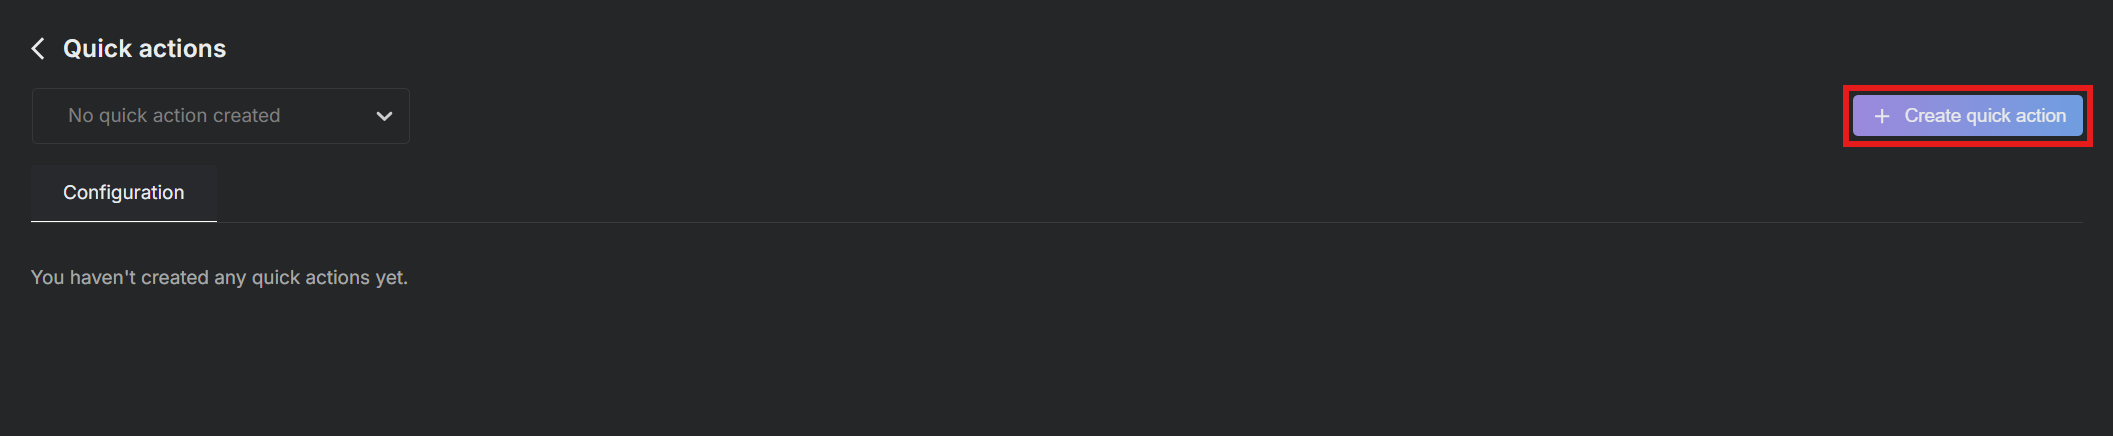
- Click on
-
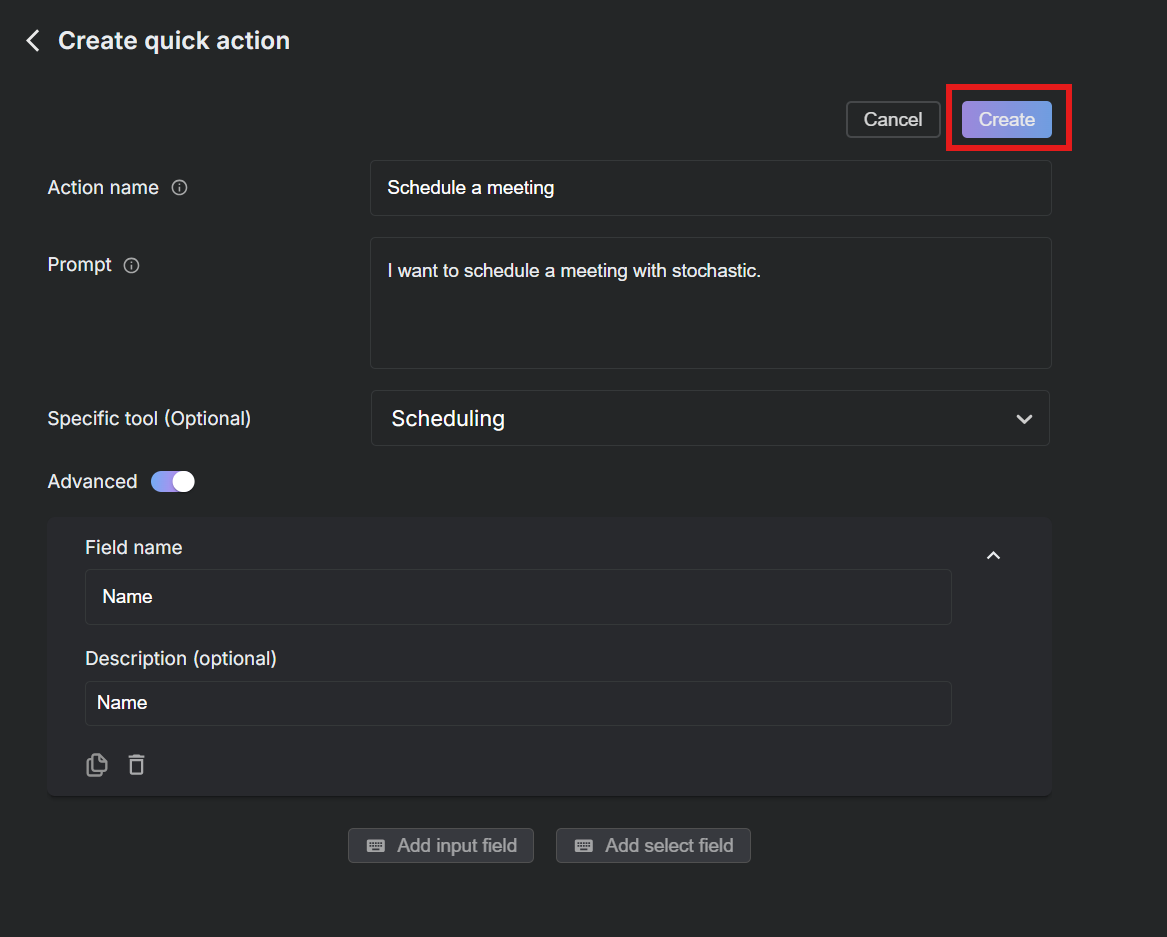
Setting Up an Action:
- Action Name: Assign a name to your action, for example, "Schedule a meeting."
- Prompt: Write a short prompt that explains the action to the user.
- Specific Tool (Optional): Link the action to a specific tool, like Scheduling, if applicable.
- Advanced Options: Expand the advanced options to add additional input fields if necessary.
-
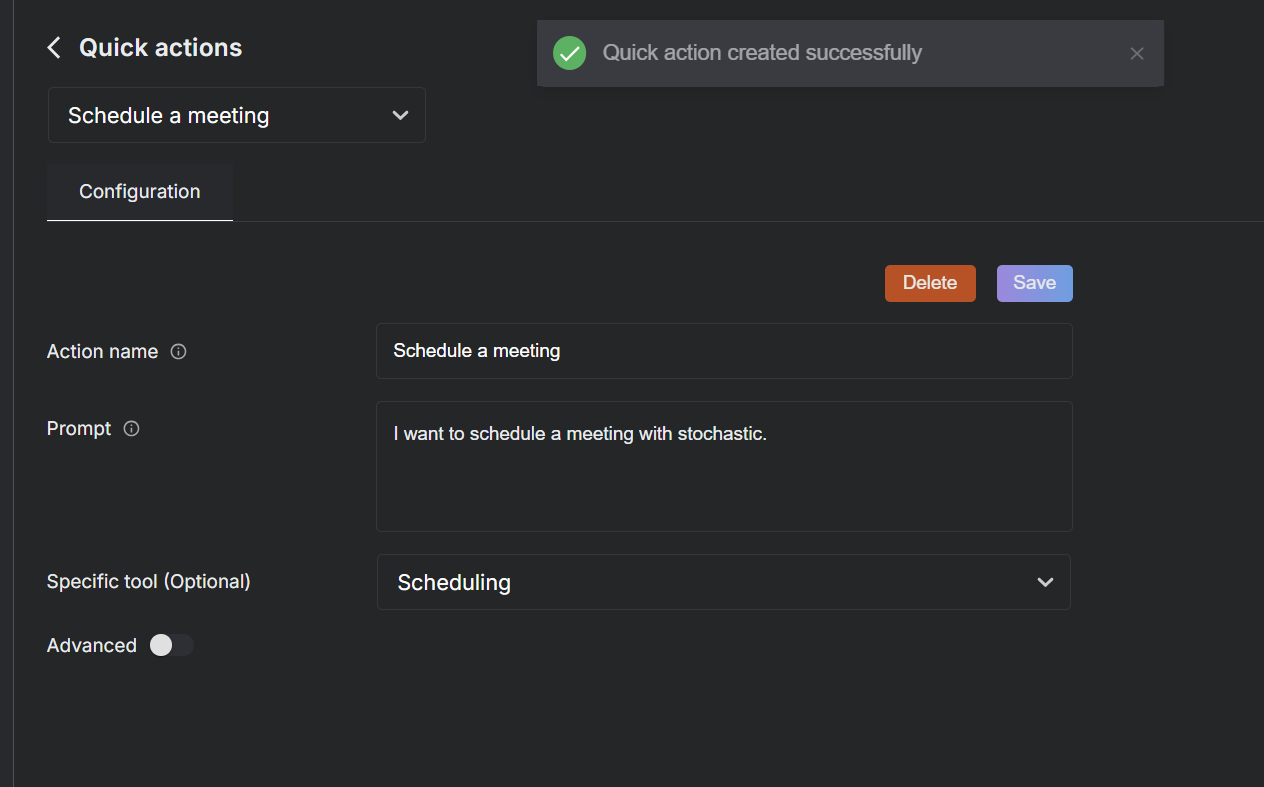
Save Your Action:
- After configuring the details, click
Createto save the action. The action is then listed under the Shortcuts menu.
- After configuring the details, click
Using Shortcuts
-
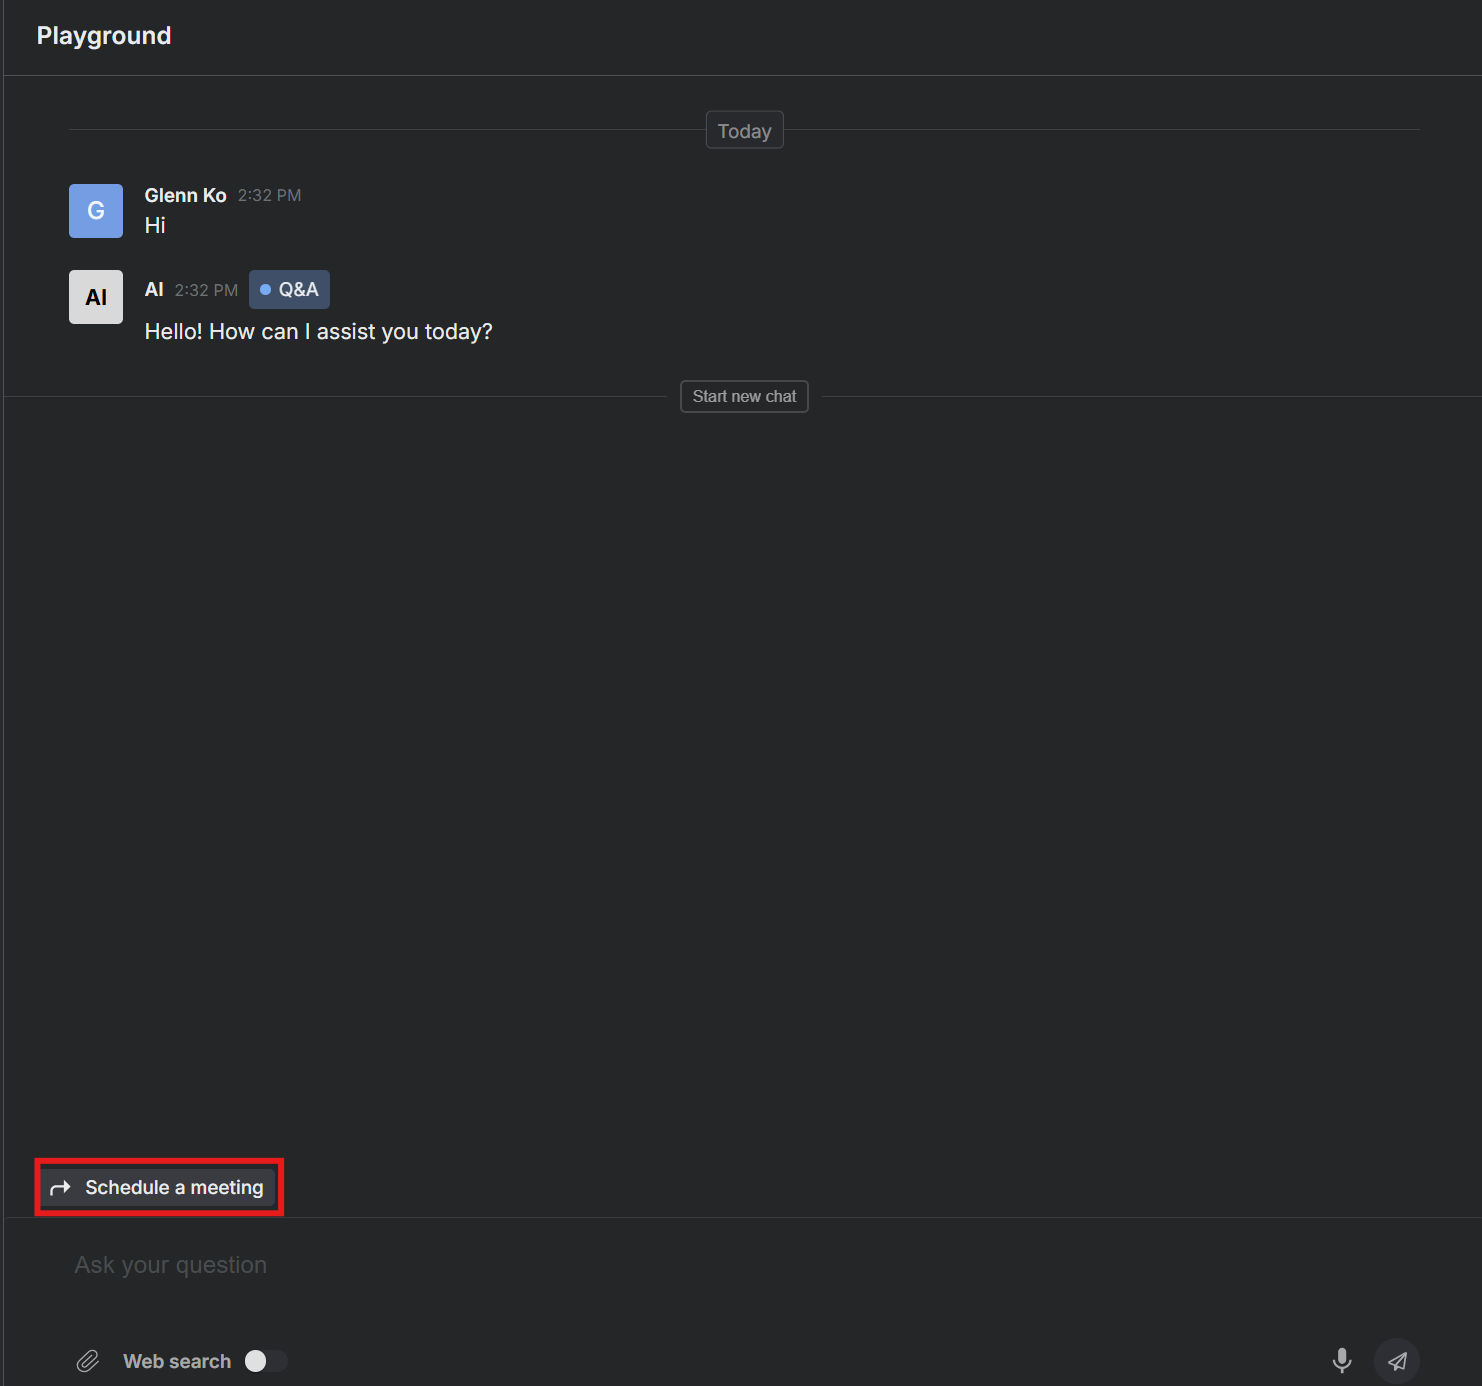
Once created, the Shortcuts are available to the AI during chats with users.
-
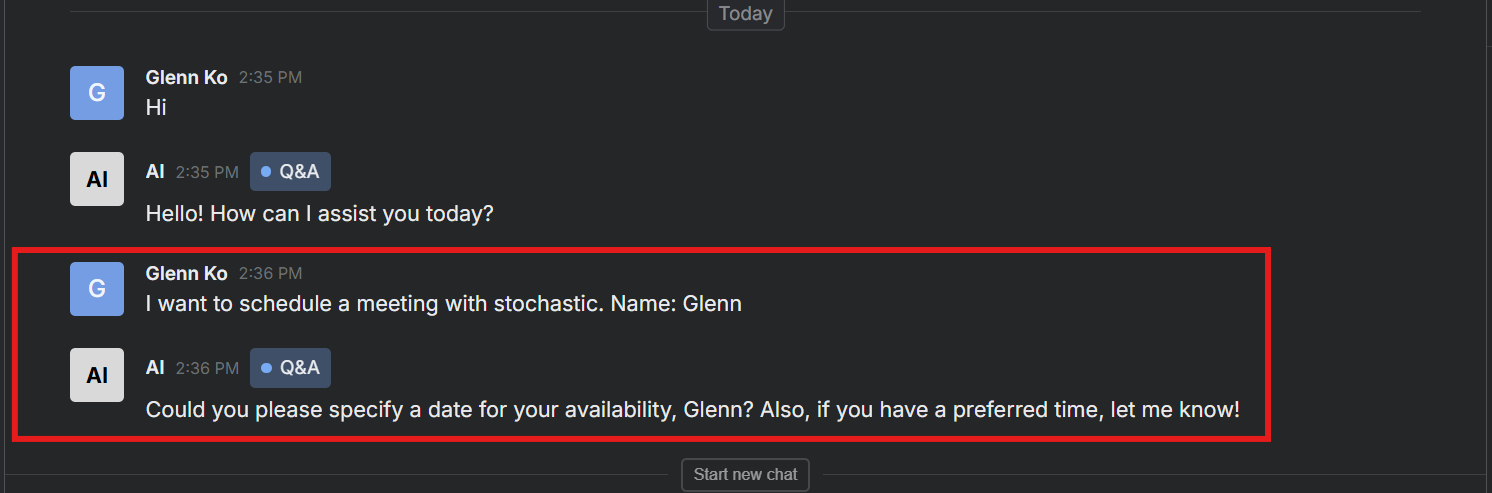
Users can trigger these actions directly in the chat interface, which will prompt them to fill in any necessary details required by the action. For instance, scheduling a meeting might require entering their name.
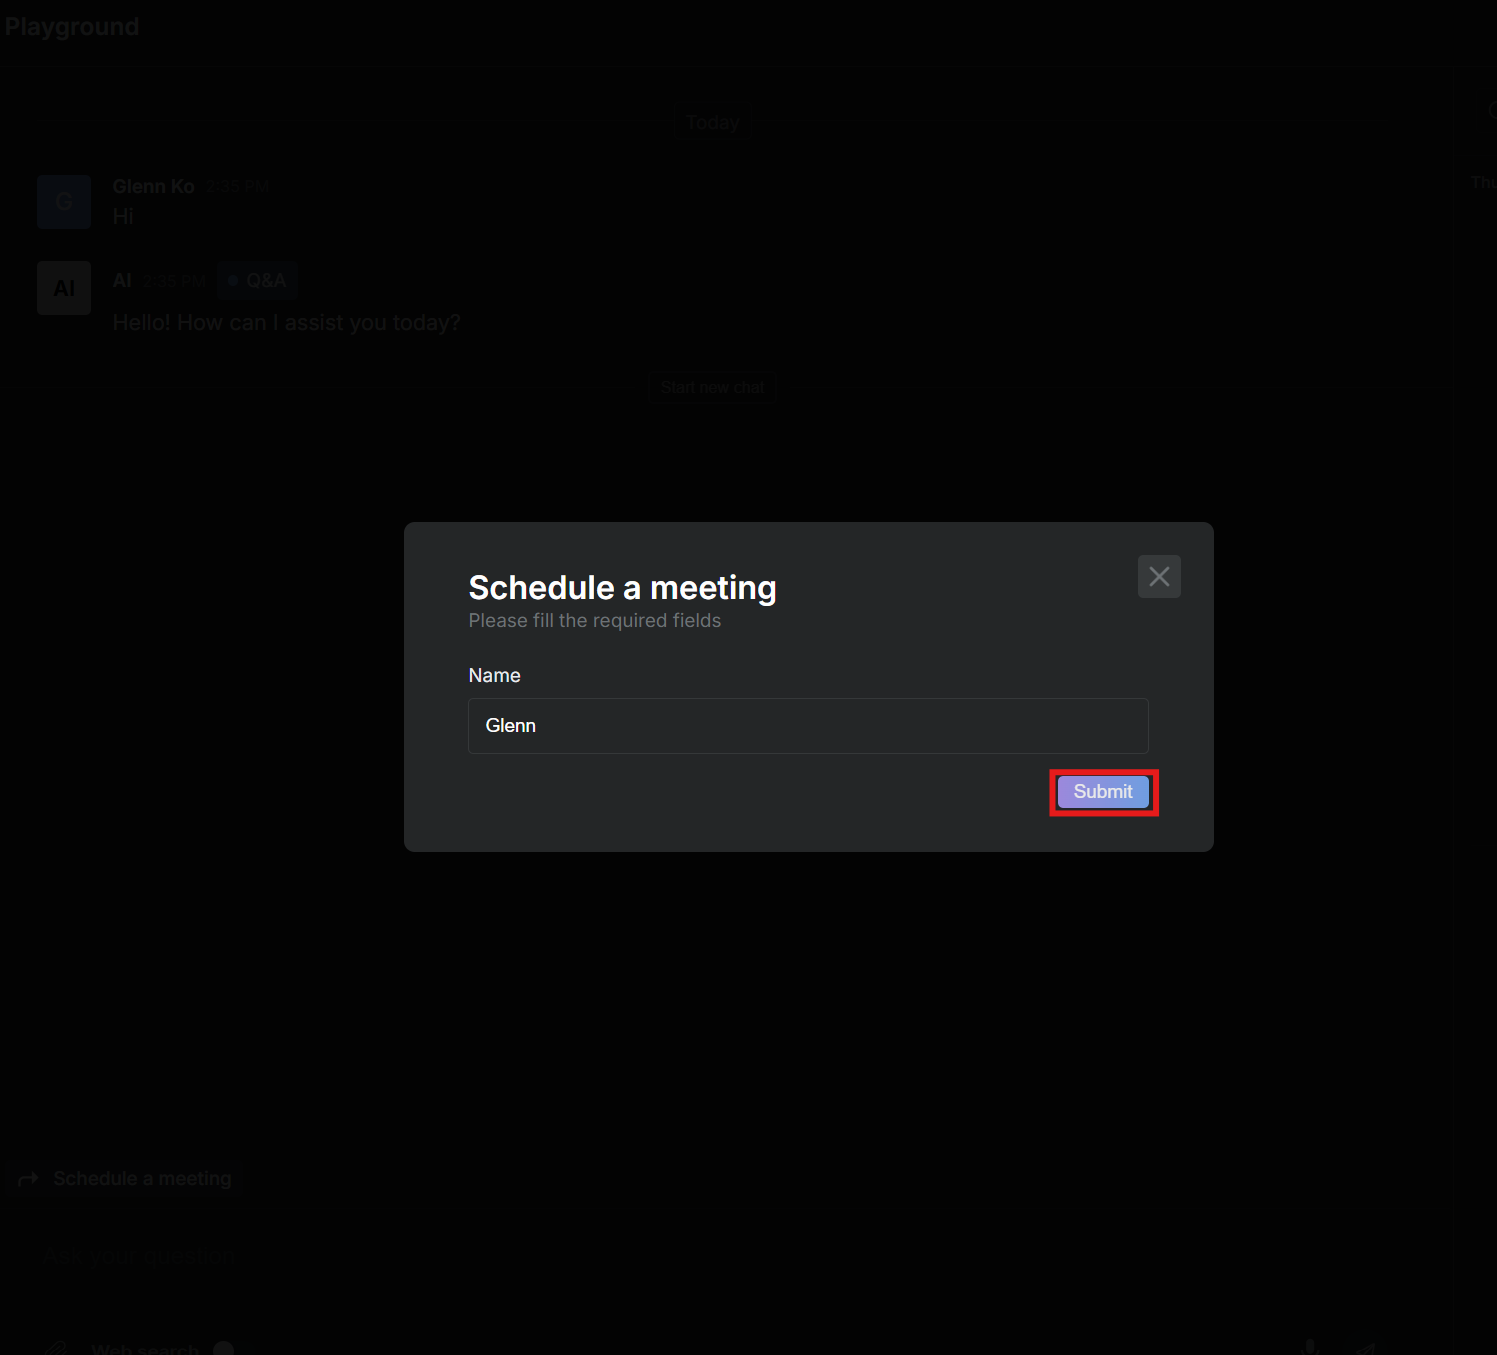
-
After providing the necessary details, the AI follows up to confirm the action or ask for additional information, making the interaction seamless and efficient.
Managing Shortcuts
- You can review and manage all configured Shortcuts through the xMagic dashboard. This includes editing existing actions or adding new ones as your requirements evolve.
By integrating Shortcuts, xMagic enhances the interactive experience, allowing users to perform tasks efficiently through the AI-driven chat interface.