🚶♂️ An Example Walkthrough of xMagic
Welcome to xMagic by Stochastic
Getting started with xMagic is straightforward. This guide will walk you through logging in, navigating the dashboard, and creating your first AI agent.
Step 1: Log In
To begin using xMagic, navigate to our login page:
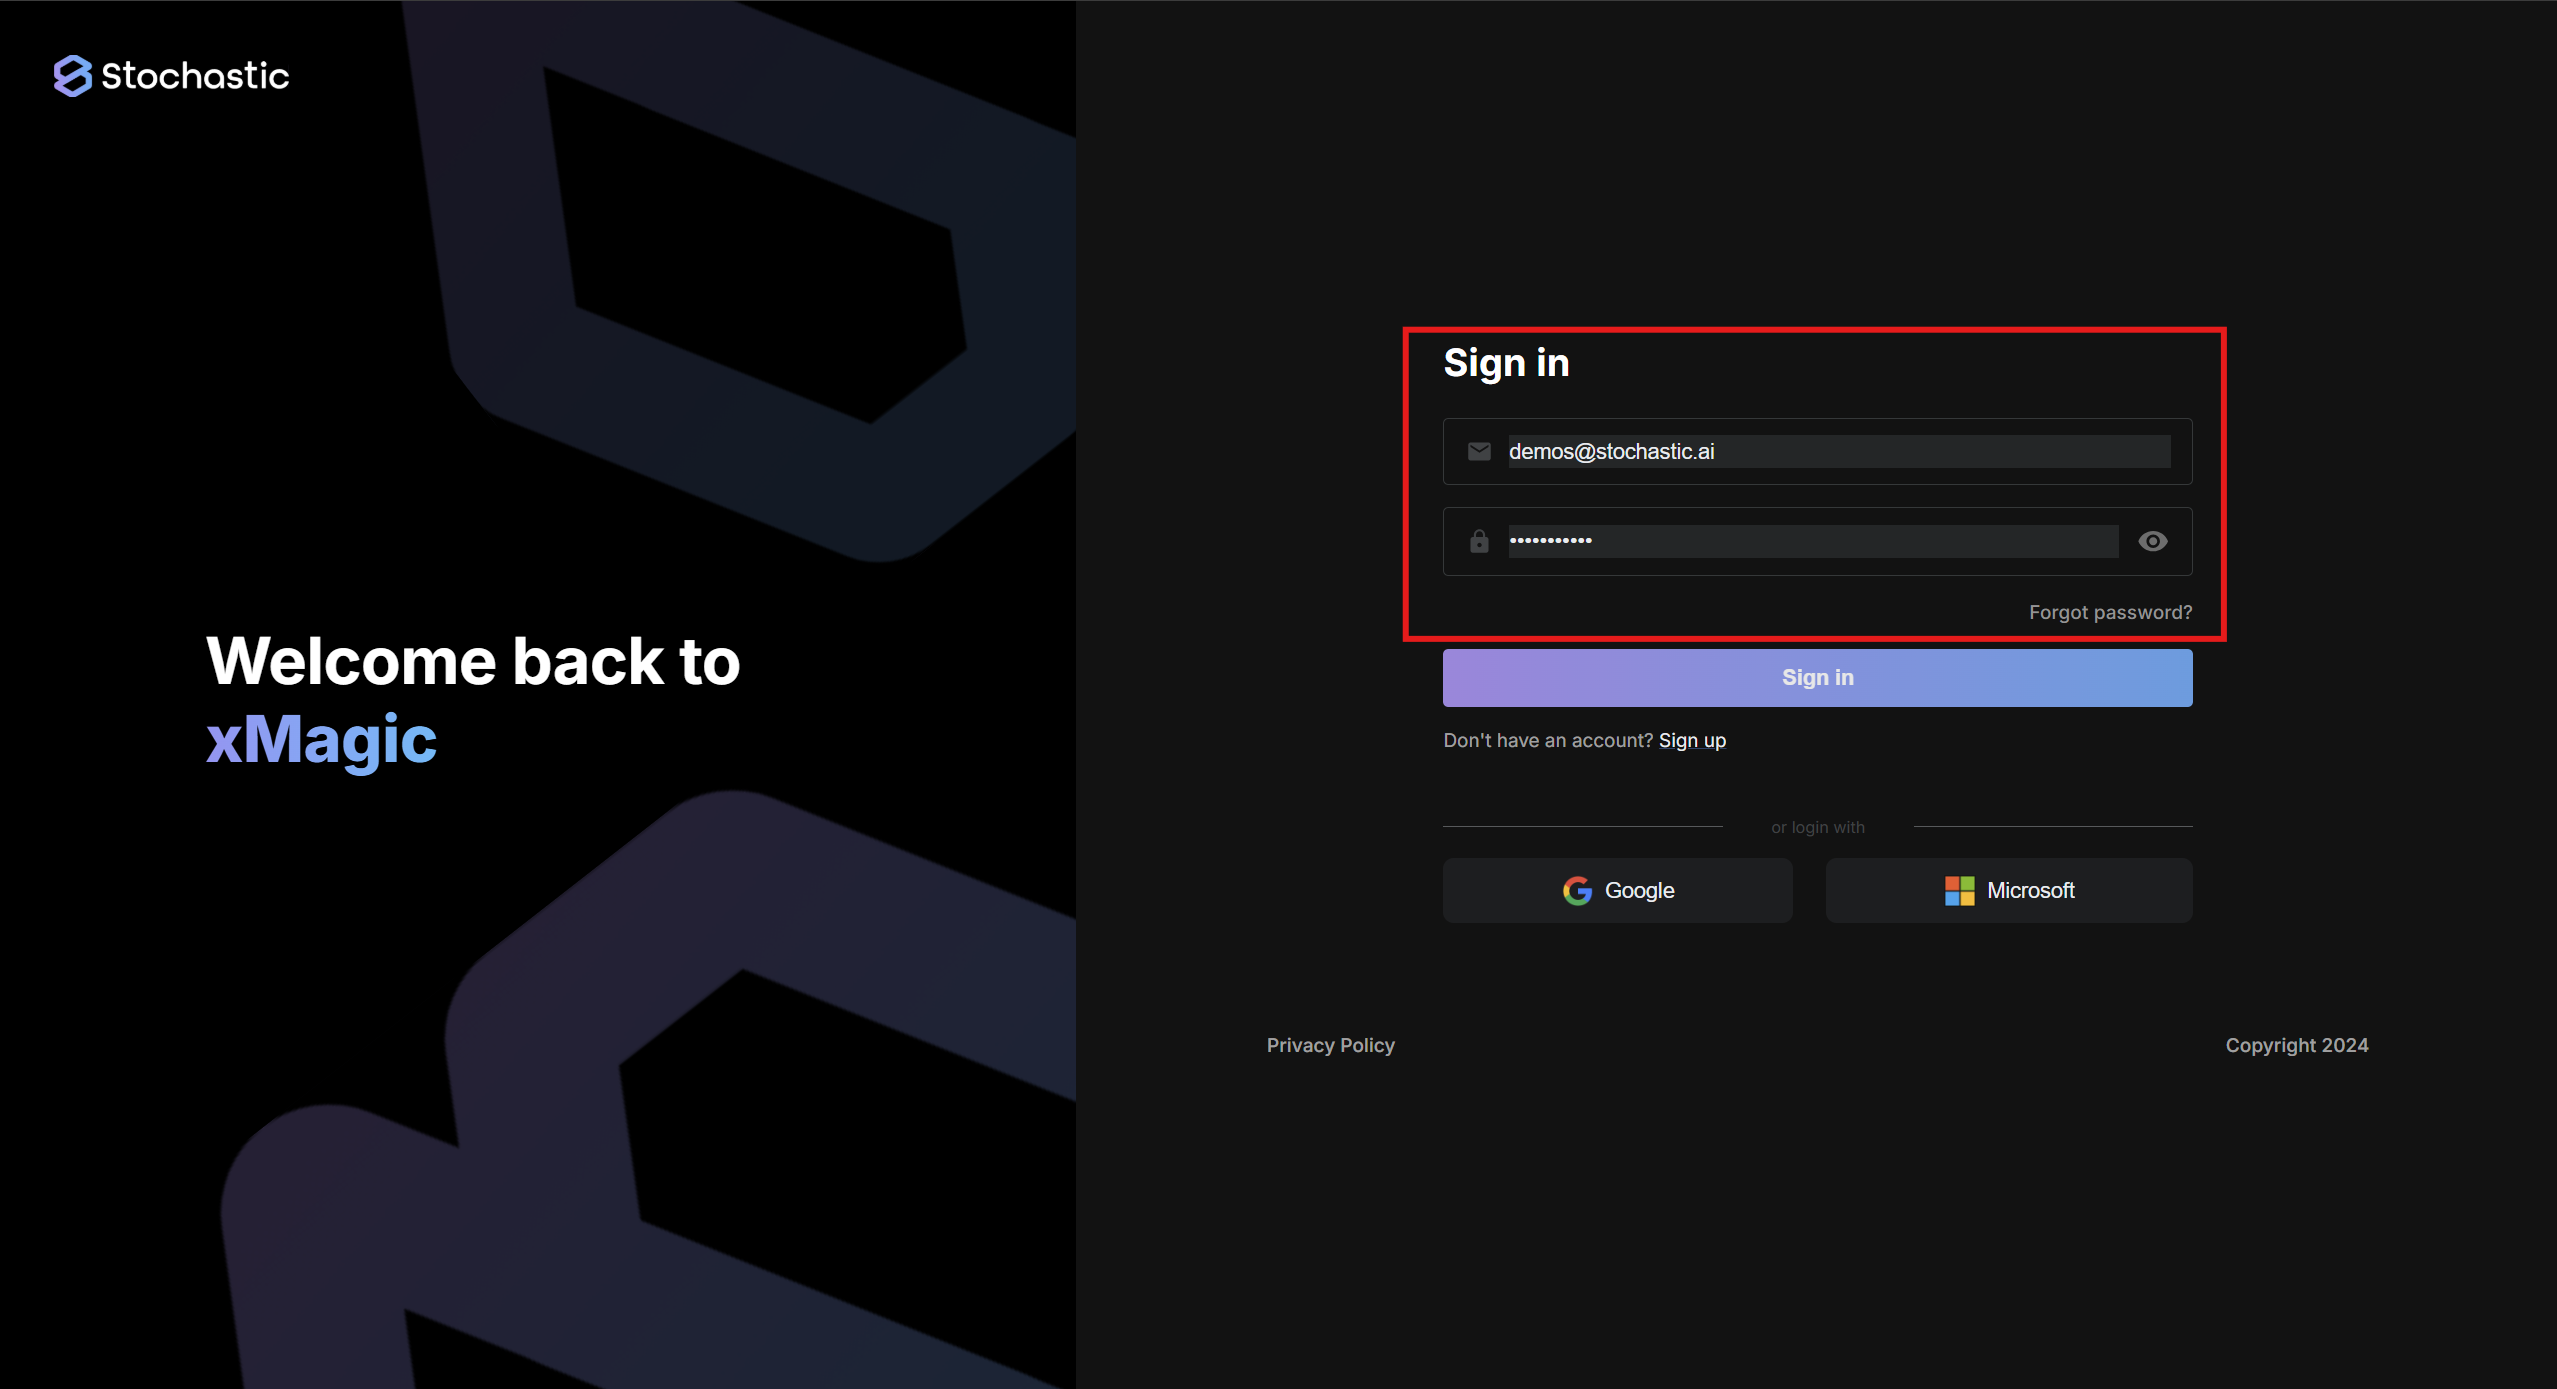
Visit xMagic Login and sign in using your credentials. You can also sign in using Google or Microsoft if you prefer.
Step 2: Explore the Dashboard
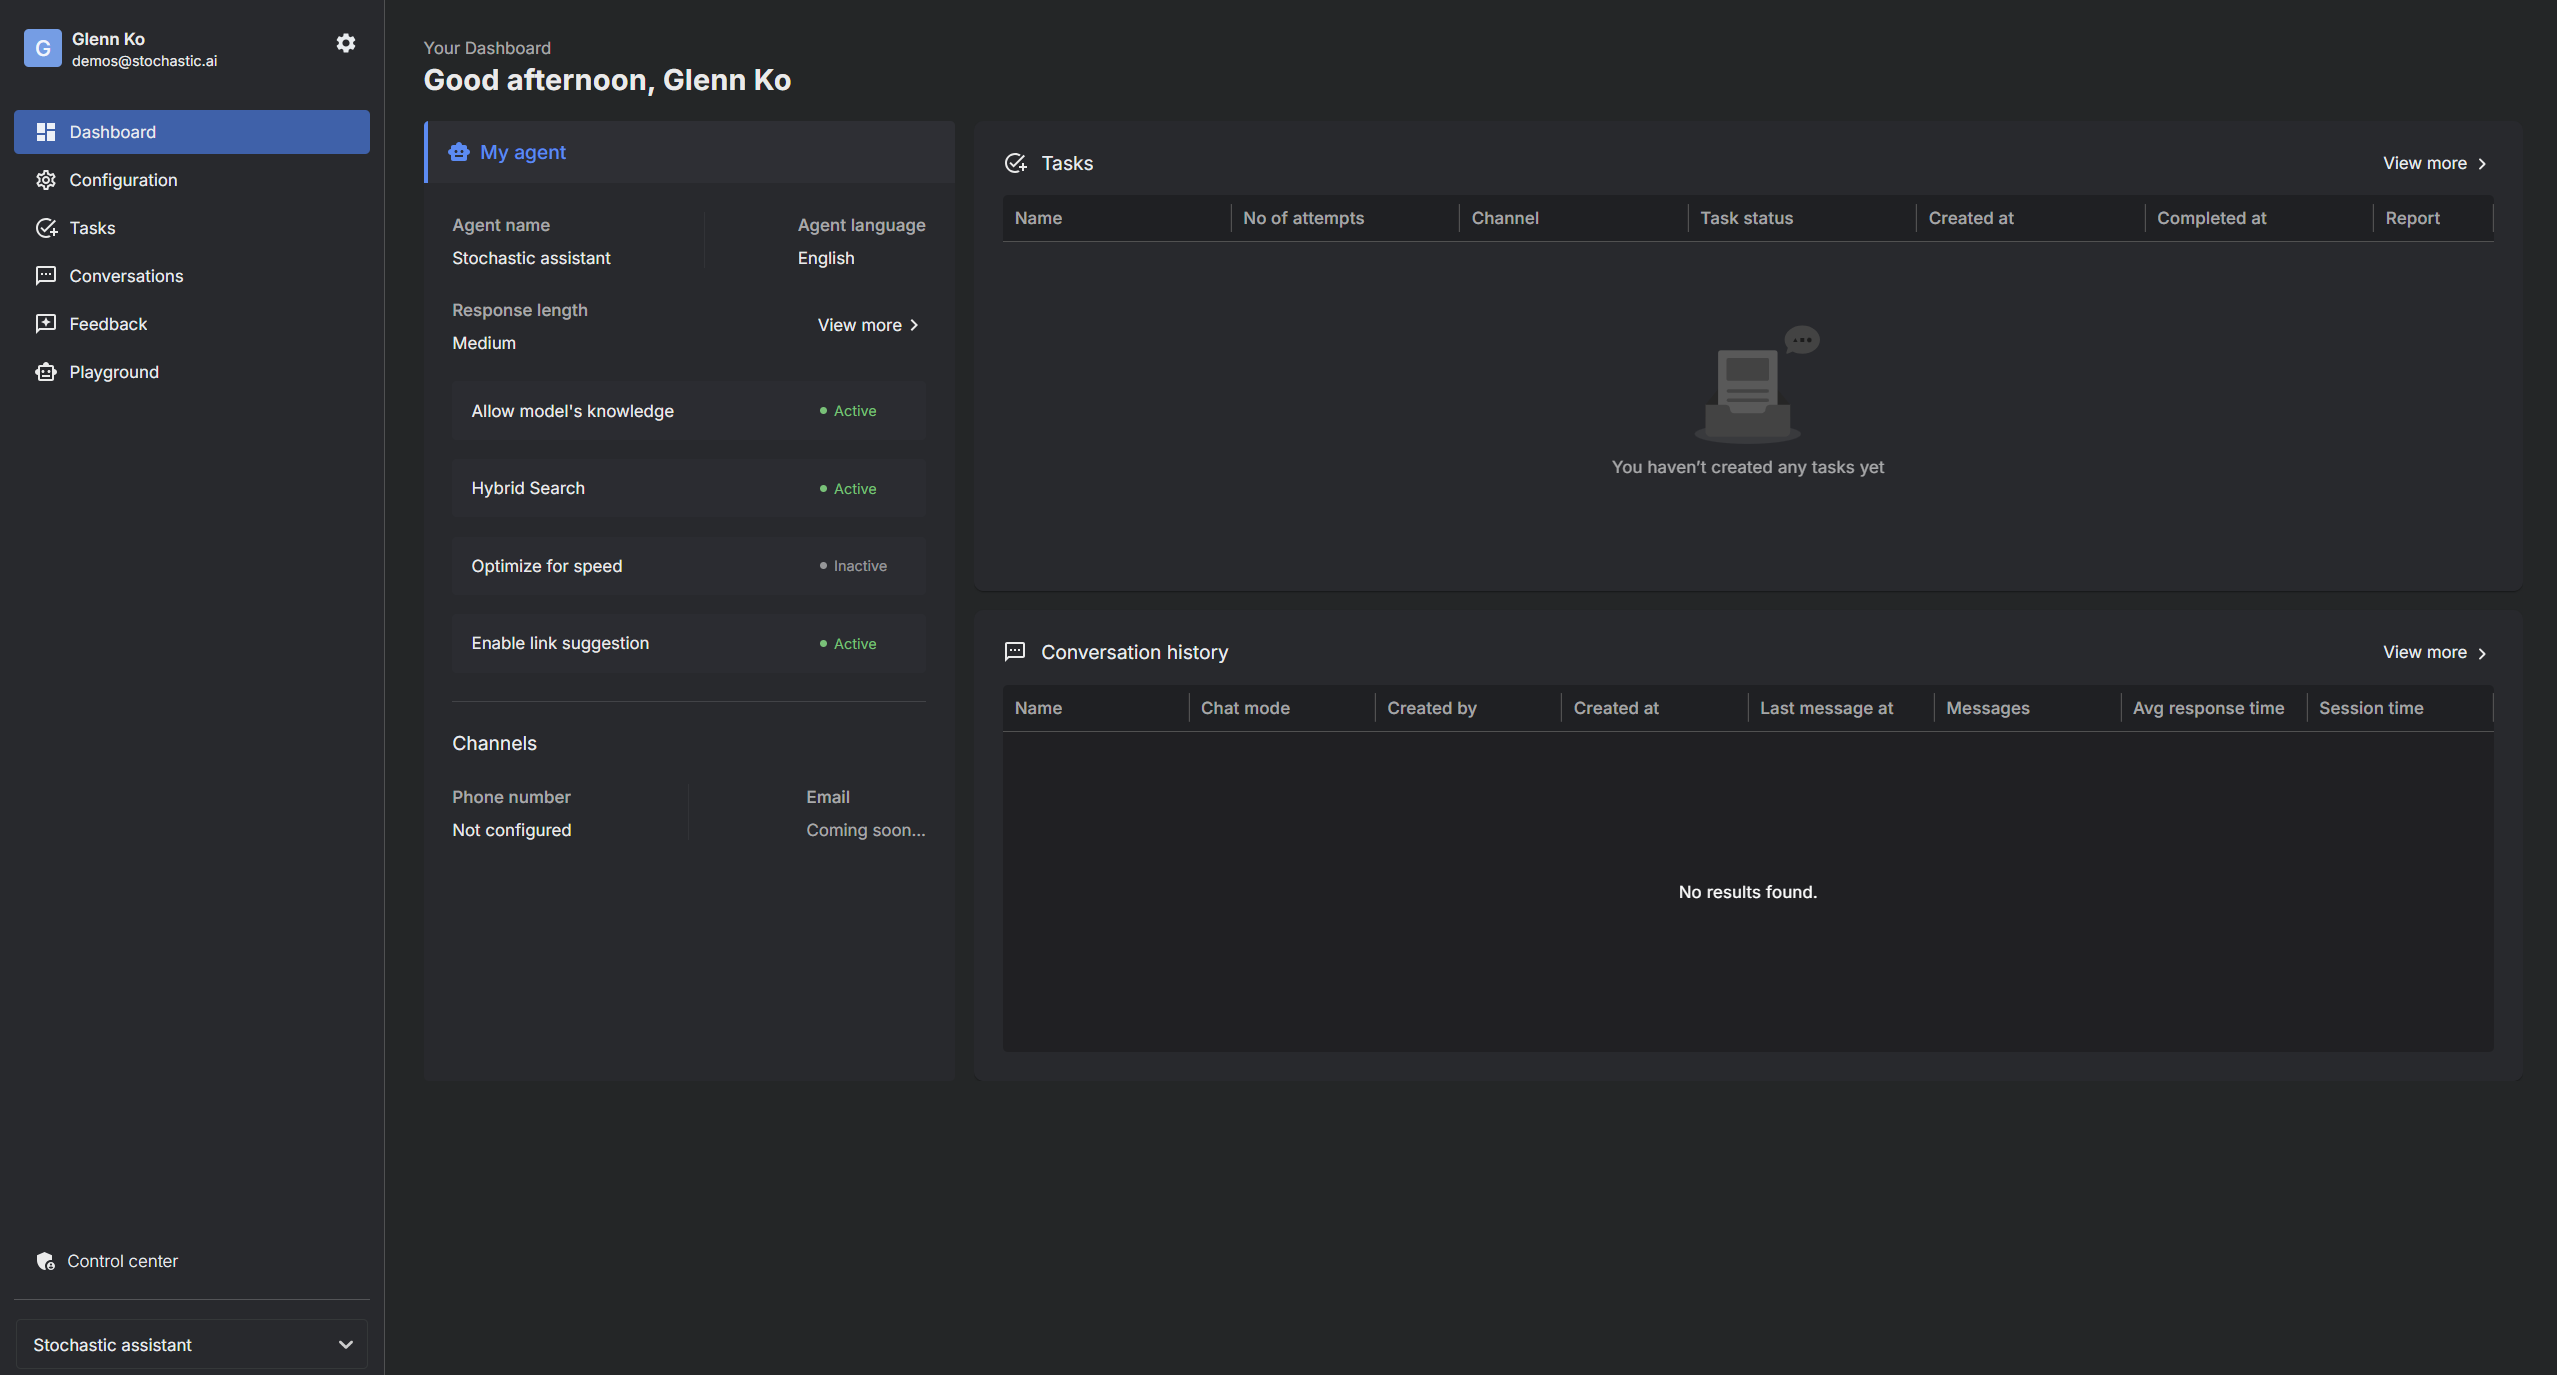
Once logged in, you'll land on the main dashboard. Here's where you can get an overview of your AI's performance and activities.
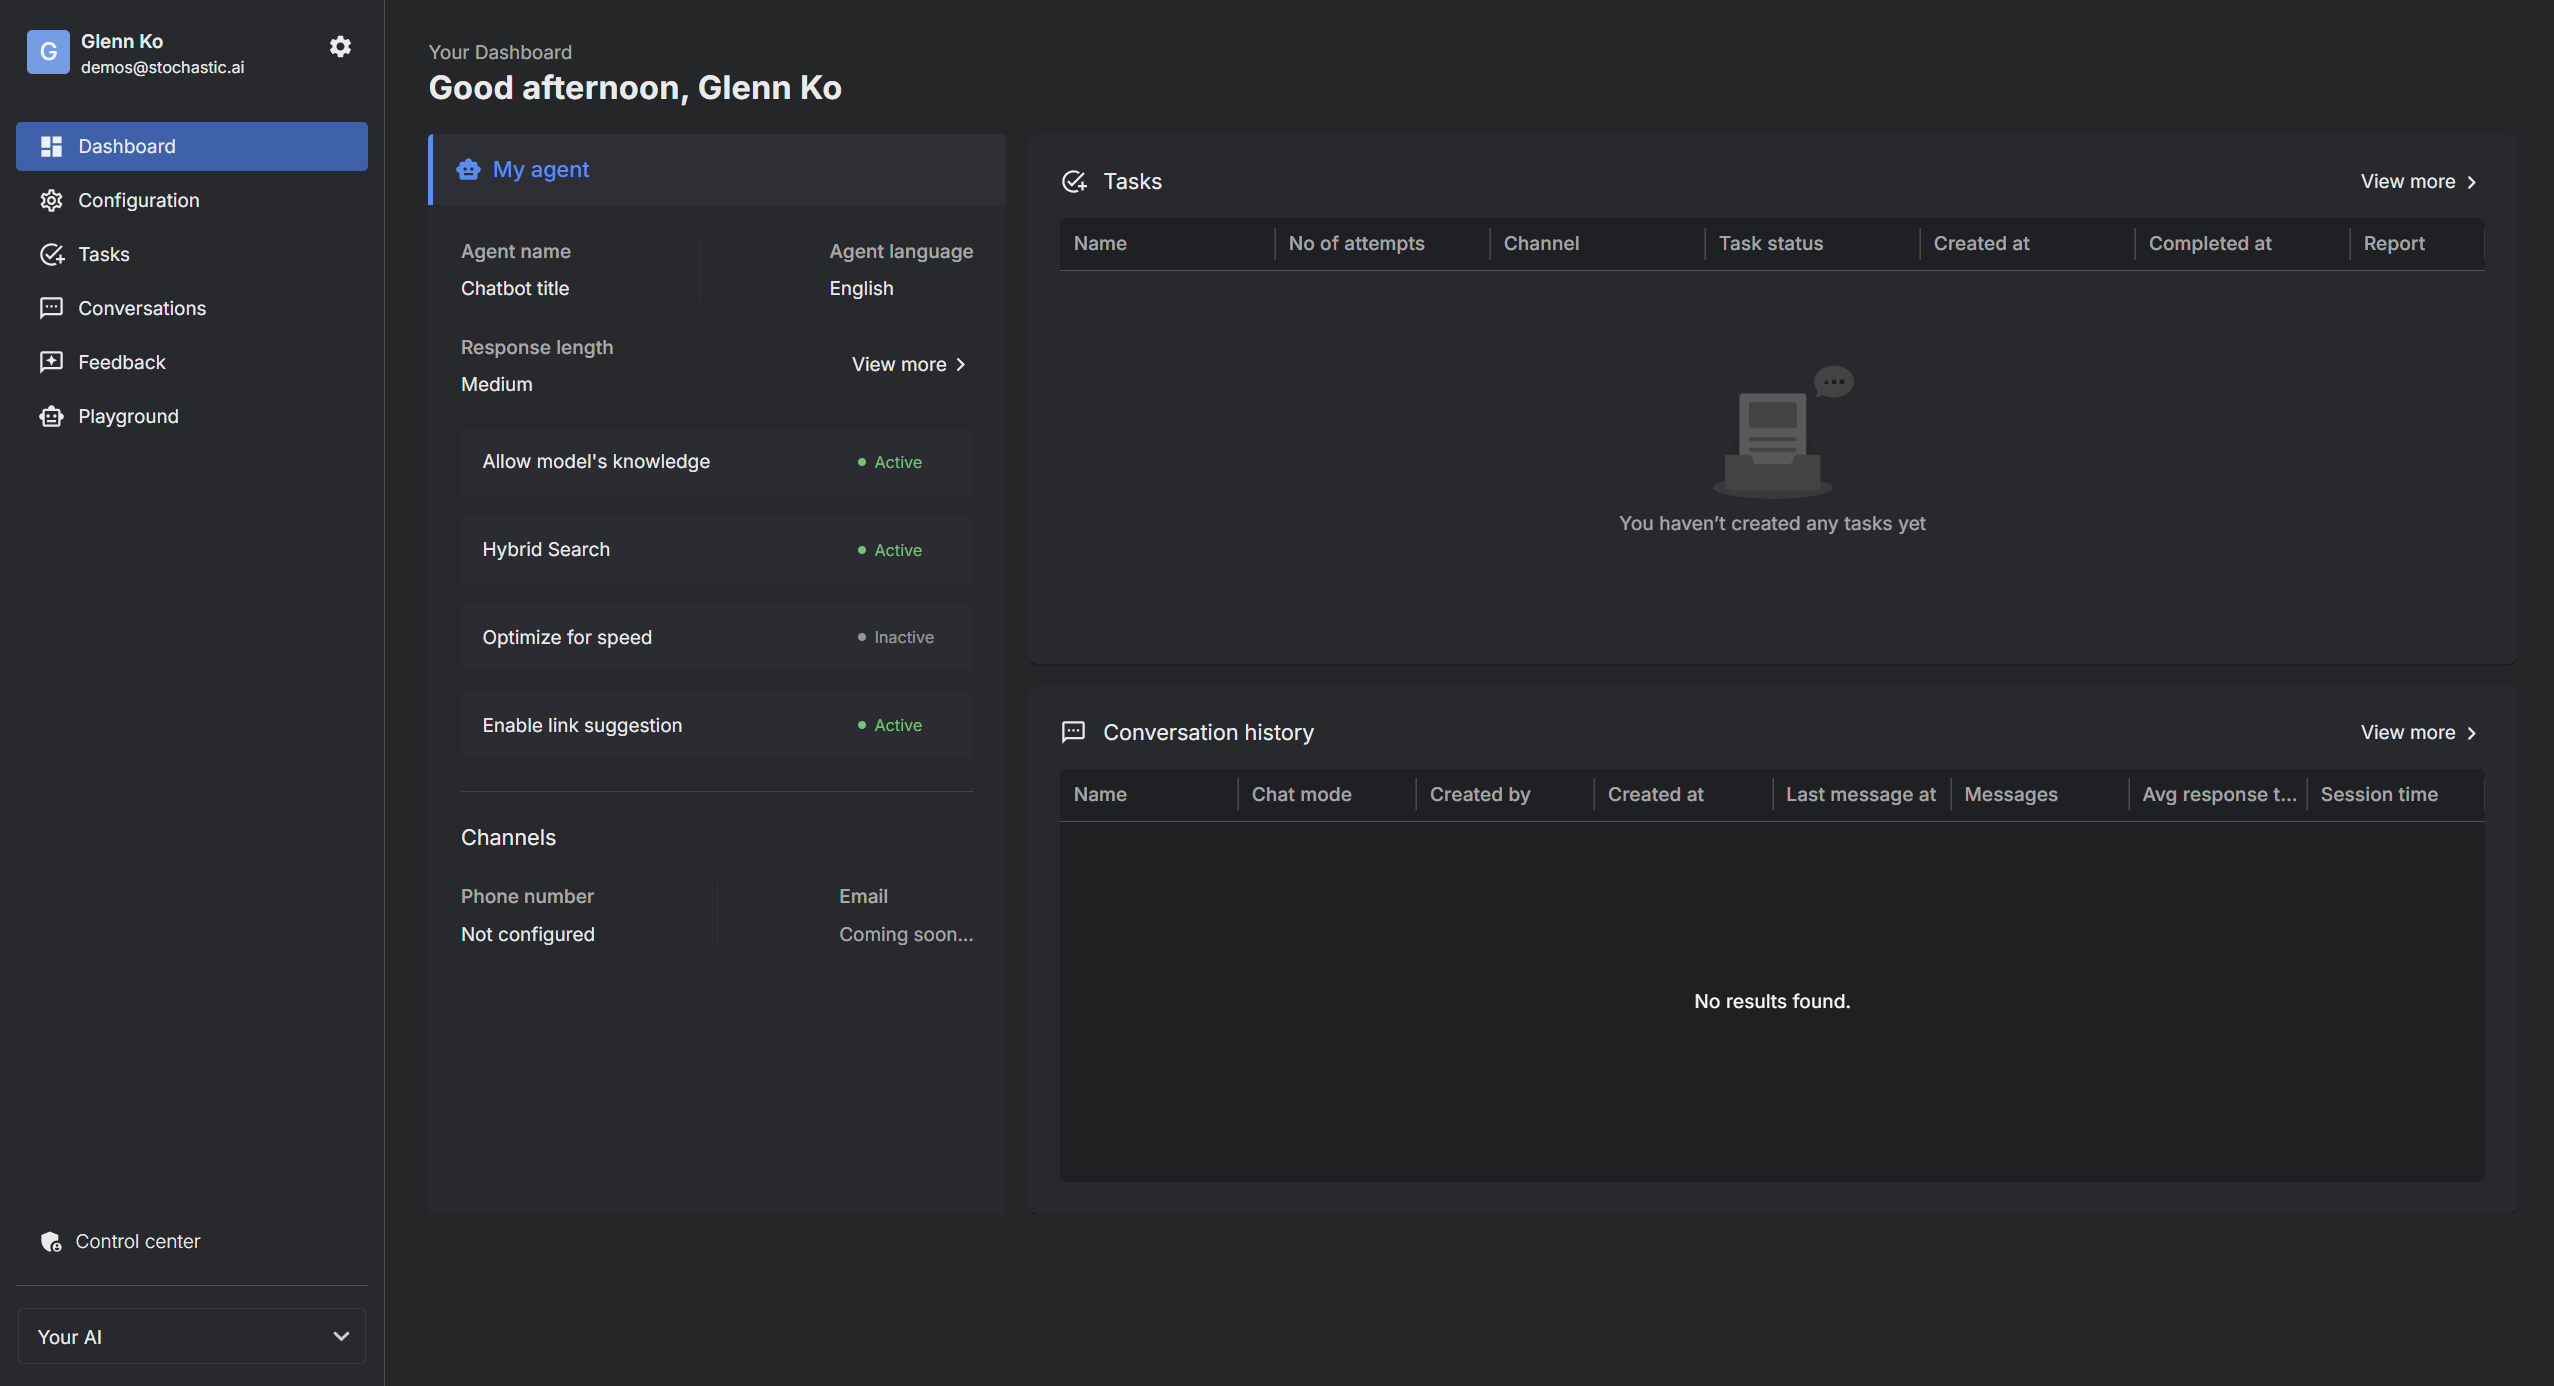
Your dashboard provides a snapshot of your AI agent's configuration, tasks, and conversation history.
To learn more about the dashboard, click here.
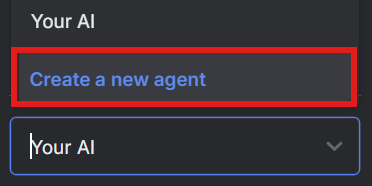
Step 3: Create Your AI Agent
Let's create your first AI agent. Navigate to the "Your AI" section located at the bottom left corner of the dashboard and click on "Create a new agent."
Step 4: Create Your AI Agent
In the "Create a new agent" dialog, enter a name for your agent, in our case we'll create our very own "Stochastic Assistant."
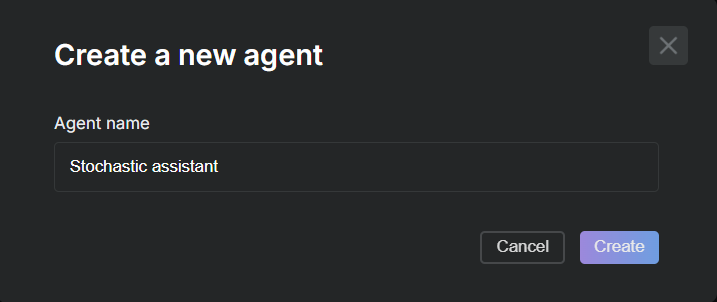
Click "Create" to proceed.
Step 5: Agent Overview
After creating your agent, you'll be directed back to the dashboard. Here you can view the newly created agent and its settings.
Now your Stochastic AI Assistant is ready to be configured further and start handling tasks!
Step 6: Configuring Your Agent
With your agent set up, it's time to customize its capabilities to better serve your needs.
Configure Agent Settings
Navigate to the Configuration section from your dashboard. Here you can set the agent's language, modify the welcome message, and provide additional instructions to ensure the AI interacts as you intend.

To learn more about the configuration section, click here.
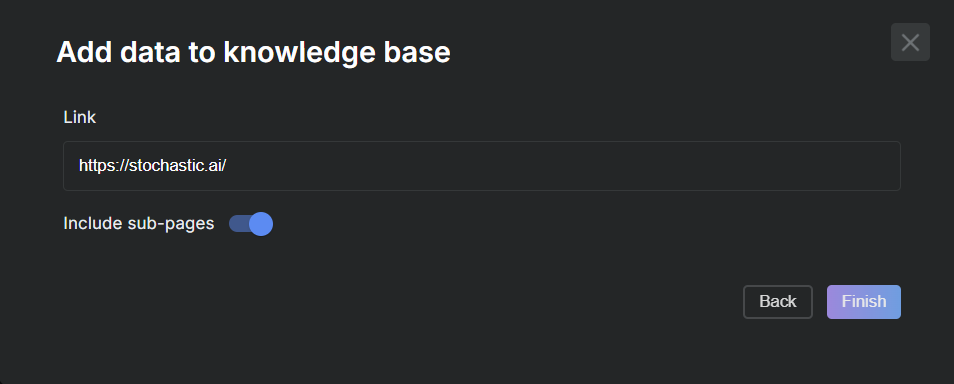
Knowledge Base Integration
Enhance the agent’s response accuracy by adding domain-specific information. Add data to your knowledge base by linking external sources, in our case we'll parse Stochastic's official website.
- Click on
Knowledge Basein the Configuration tab. - Select
Add data, then chooseAdd linksto include relevant URLs.
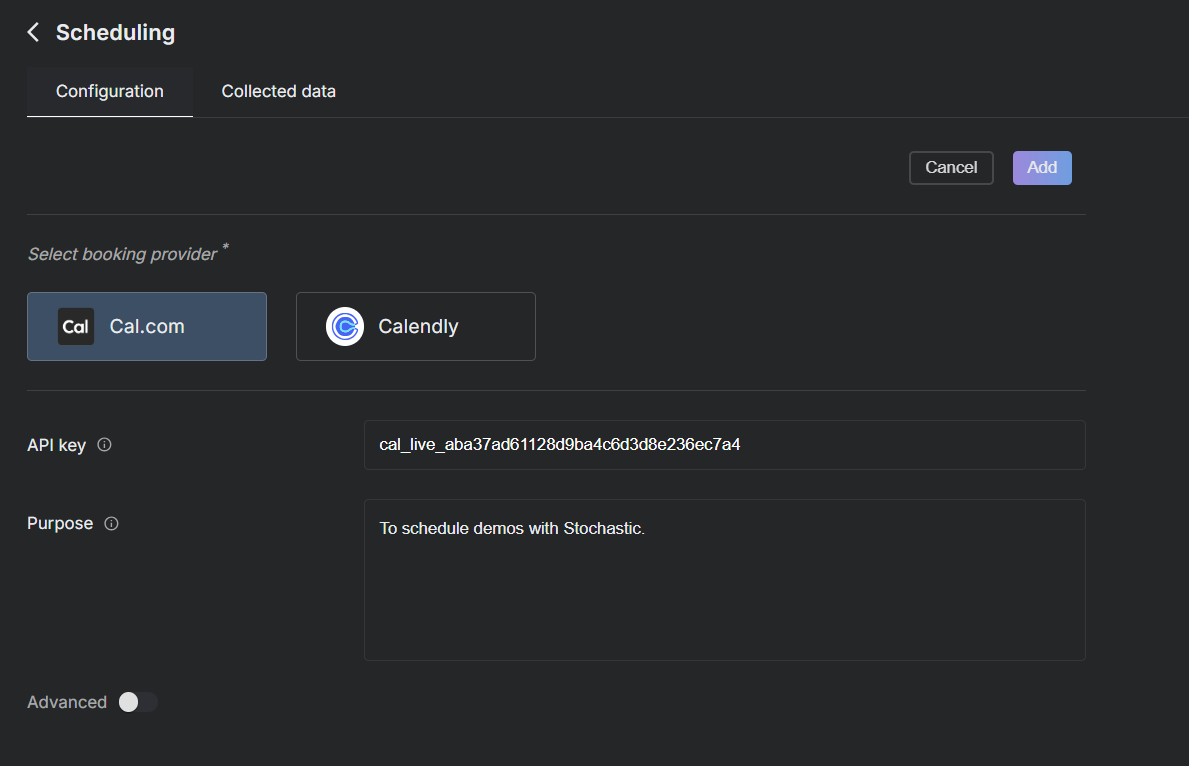
Tools Configuration
Equip your agent with various tools to enhance functionality:
-
Navigate to the
Toolssection. Here we can add various tools for purposes such as Scheduling, Form Filling, Sheet analysis and so on.. -
To learn more about each tool, click here
-
In this current example let's just add the scheduling tool as of now.
Step 7: Utilizing Your Agent
Now that your agent is configured and equipped with the necessary tools and information, you can start engaging with users. Monitor tasks, view conversation histories, and gather feedback to continuously improve the interaction quality.
This guide provides the foundational steps to get you started with xMagic, ensuring your AI agent is well-equipped to handle interactions efficiently and effectively.
Deploying Shortcuts
Configure Shortcuts:
- Shortcuts allow your agent to perform tasks directly from the chat interface. Create a 'Schedule a demo' action as shown.

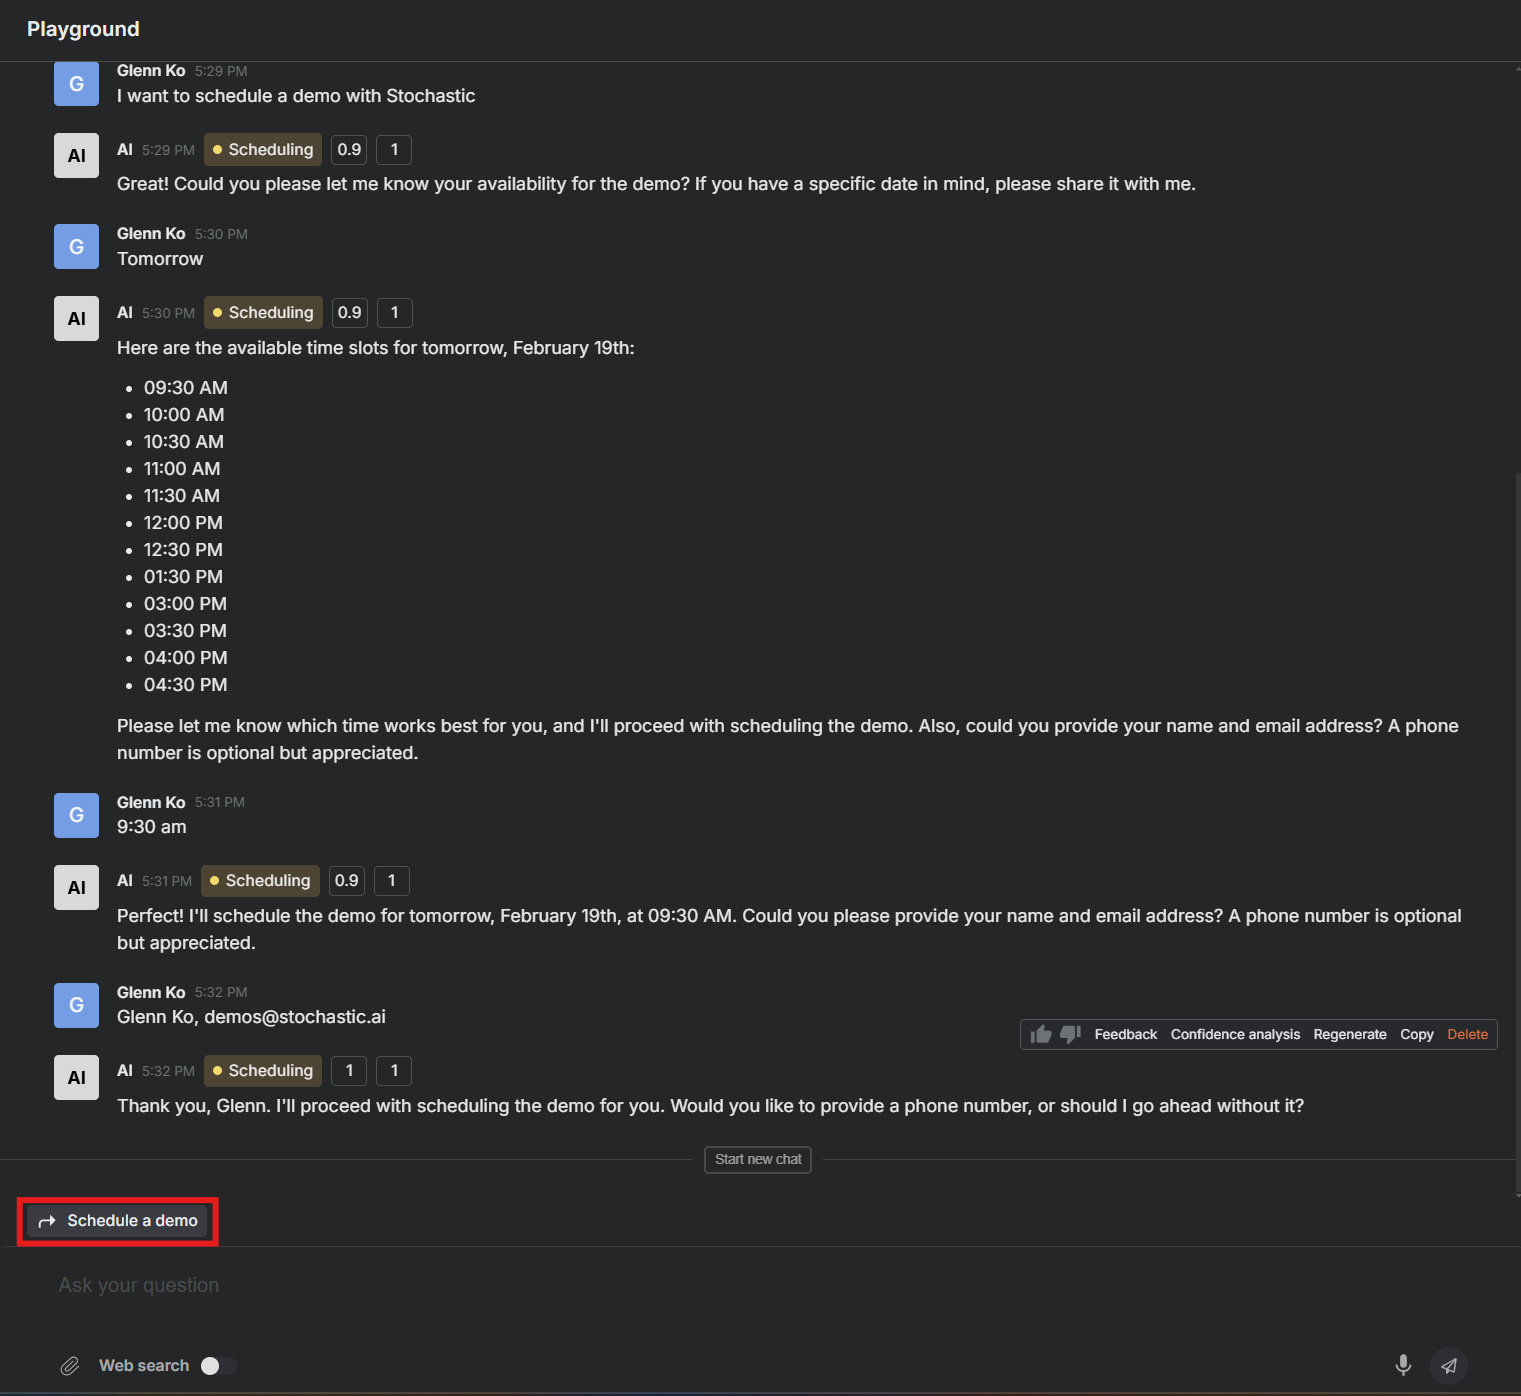
Testing and Interaction
Using the Playground:
- Test your configured agent in the 'Playground'. Engage in a conversation, utilize Shortcuts like scheduling a demo, and see how your agent performs in real-time.
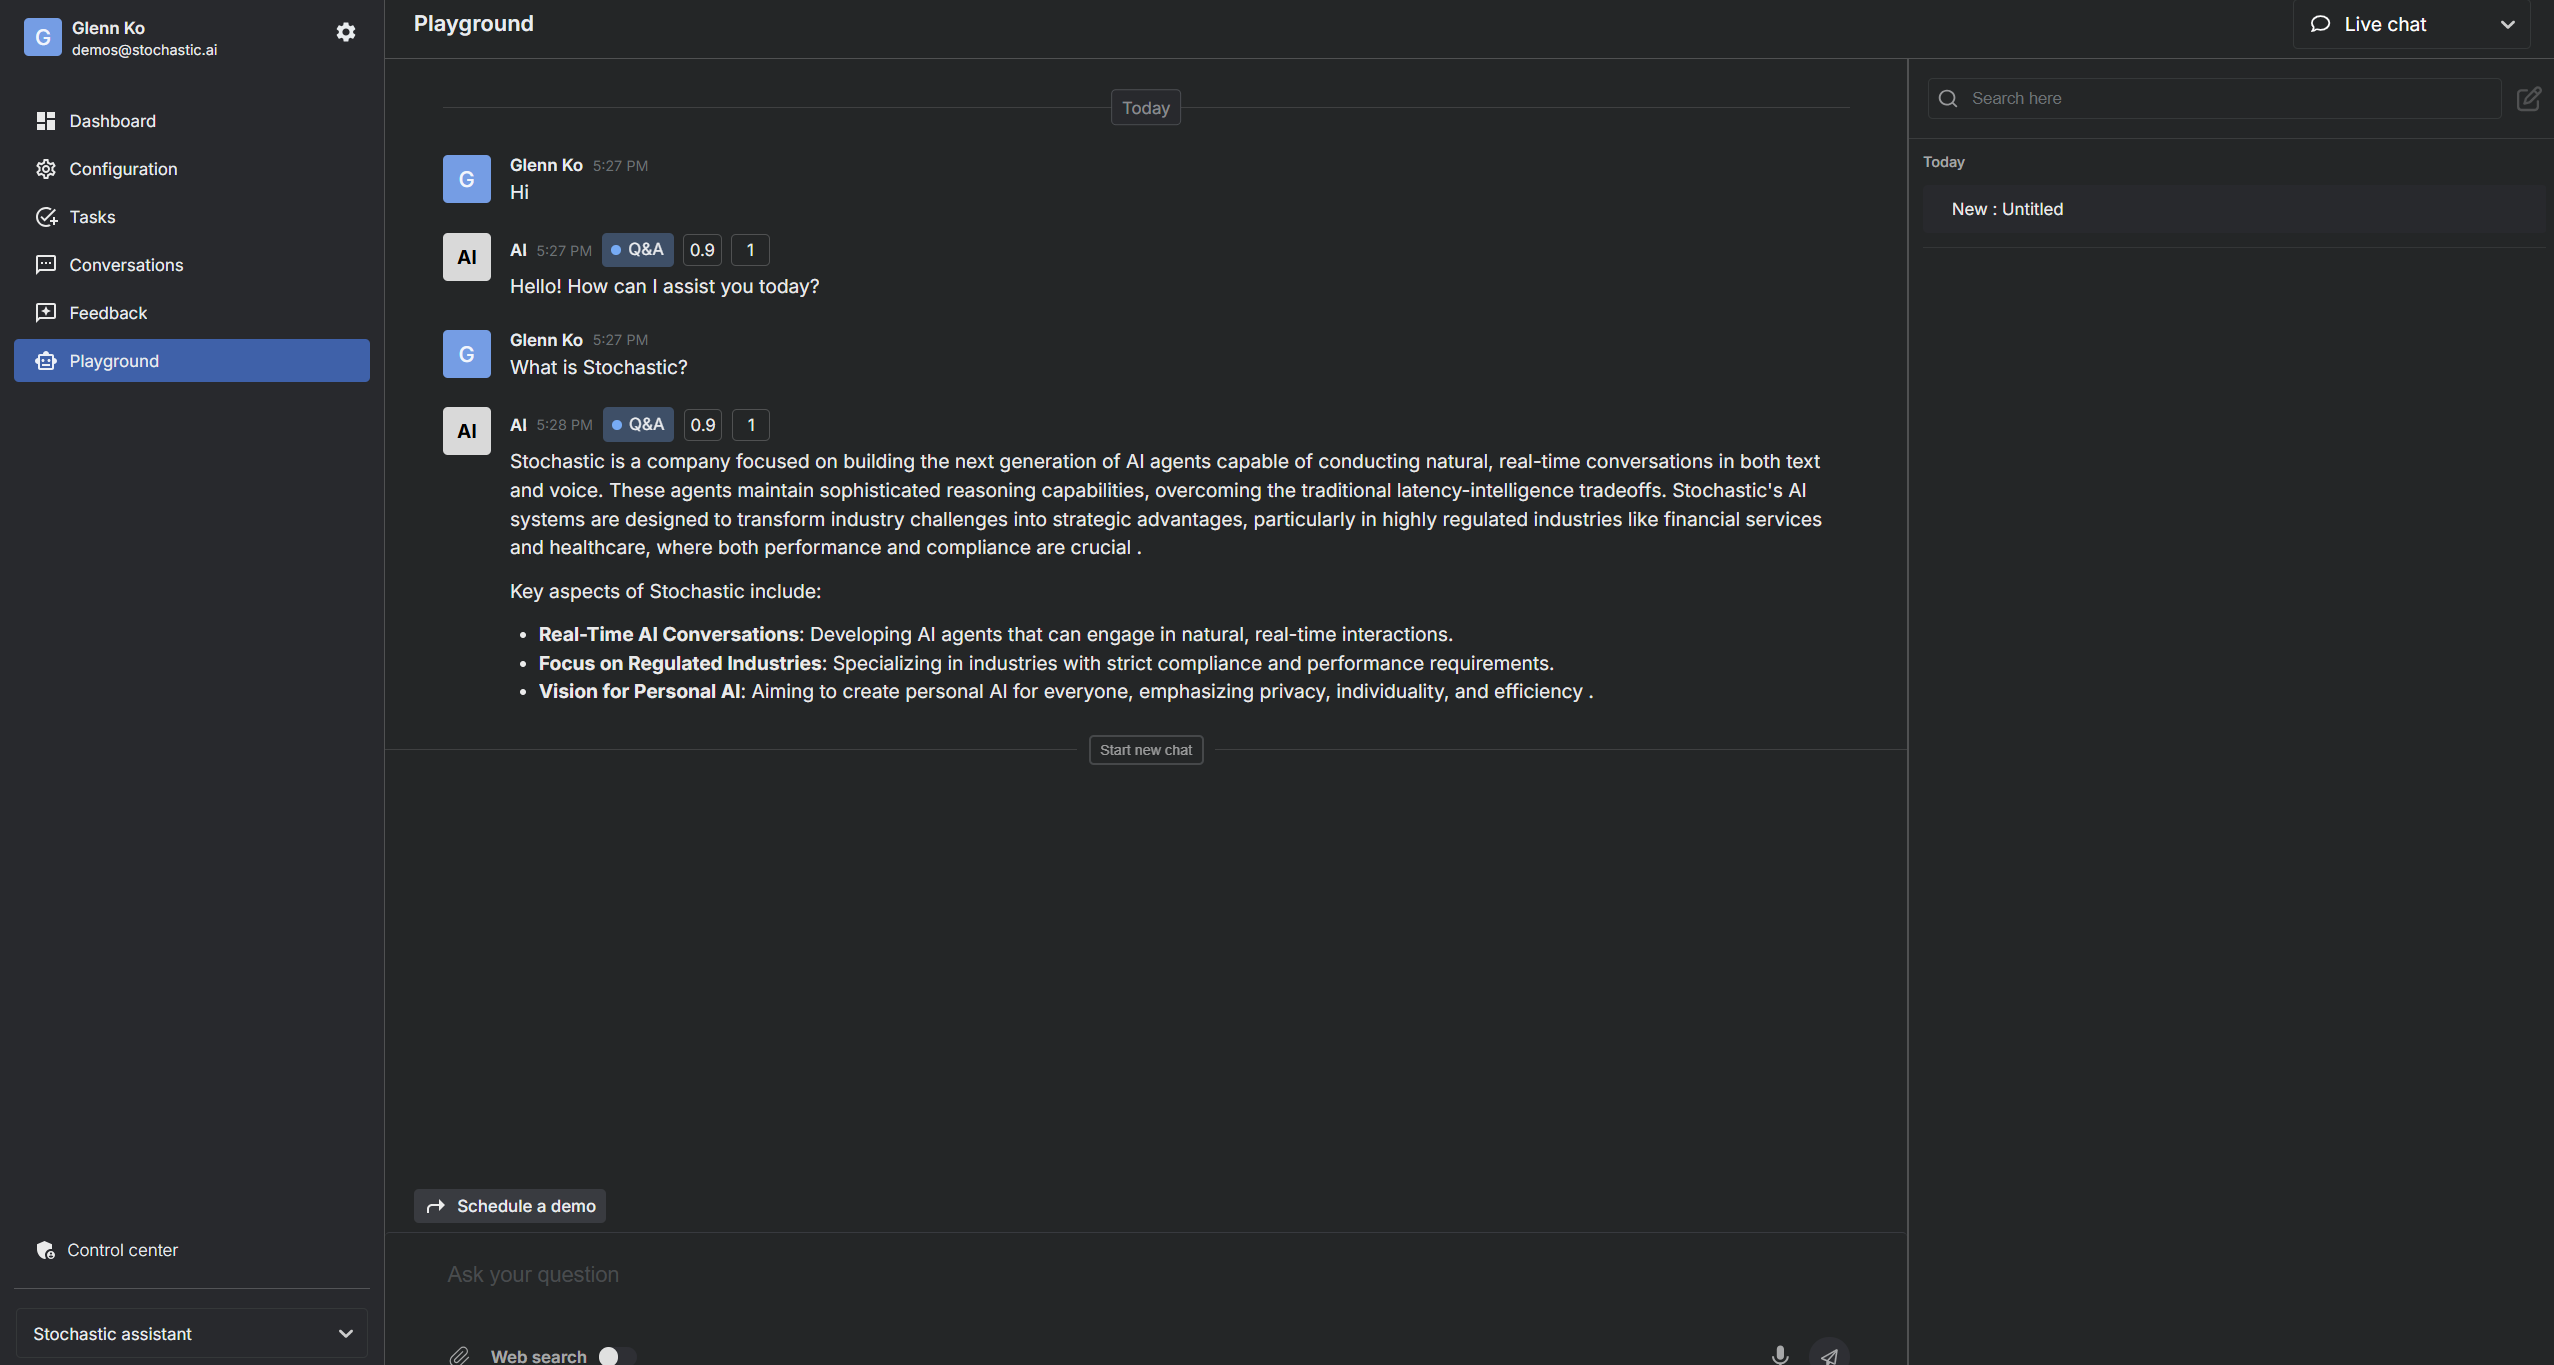
Quick-action in use:
Monitoring and Tasks
Review Conversations and Tasks:
- Monitor past interactions and manage tasks from 'Conversations' and 'Tasks' sections respectively. This helps in fine-tuning the agent's responses and functionalities.

To learn more about tasks, click here.
This quick start guide aims to provide you with the essential steps to get your xMagic AI agent up and running efficiently, enhancing your operational workflow and customer engagement. For detailed configurations and additional functionalities, refer to the specific sections in this documentation.