Creating a Website Chatbot with xMagic: A Step-by-Step Guide
Introduction
Welcome to our guide on using xMagic to create a website chatbot! In this guide, we'll walk you through the steps to build an AI-powered chatbot for your website. xMagic can enhance your website by providing instant assistance to visitors, answering their questions, and guiding them through your content.
Step 1: Setting Up Your xMagic Account
If you haven’t already, sign up for an xMagic account by following this link: xMagic. Once you've created your account, log in to access the xMagic platform.
Step 2: Creating Your Website Chatbot Project
In the xMagic dashboard, click the “New space” button on the left side panel. Give your space a descriptive name, such as "Website Chatbot." Select a color for your newly created space and click Create.
Step 3: Uploading Content for Your Chatbot
Next, create a new Repository and upload the content you want your chatbot to use. This could include FAQs, product information, work information, business information, service descriptions, and any other relevant documents. Click “Upload files” to upload your files, or click “Add links” if your file comes from a website. You can also import materials with supported software integrations like Google Drive and Notion under “Import from other software.” These files will serve as the basis for training your AI chatbot.
Step 4: Training Your AI Chatbot
Once your files are uploaded, it will take 5 minutes or less for xMagic to analyze the content of your files and create a customized AI model tailored to your website's needs. If you need to add more files, you can click “Add Data” on the left side panel of the xMagic platform.
Step 5: Interacting with Your AI Chatbot
After training is complete, you can start interacting with your AI chatbot. Use the chat interface in xMagic to test your chatbot's responses. Ask it questions, provide feedback, and ensure it understands your content correctly.
Step 6: Embedding Your Chatbot on Your Website
Once you're satisfied with your chatbot's performance, it's time to embed it on your website. Follow these steps:
- Click on the three dots in the top right corner of your xMagic space.
- Select Embed
- Copy the embedded code.

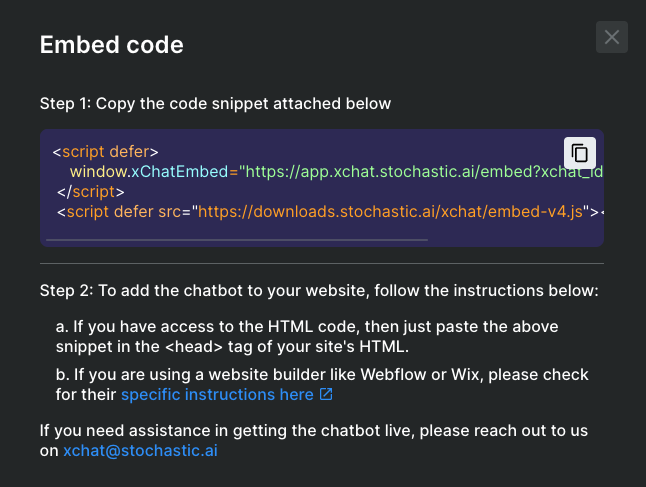
Step 7: Adding the Embed Code to Your Website
Now that you have the embed code, you need to add it to your website's HTML. Here’s how:
- Access Your Website's HTML: Open the HTML editor for your website. This could be through your website builder platform or directly in your website’s code files.
a. If your website is built using Webflow, follow custom code instructions here.
b. If your website is built using Wix, follow custom code instructions here. - Paste the Embed Code: Find the section where you want the chatbot to appear, and paste the embed code.
- Save and Publish: Save your changes and publish your website. Your chatbot should now be live and ready to assist your visitors.
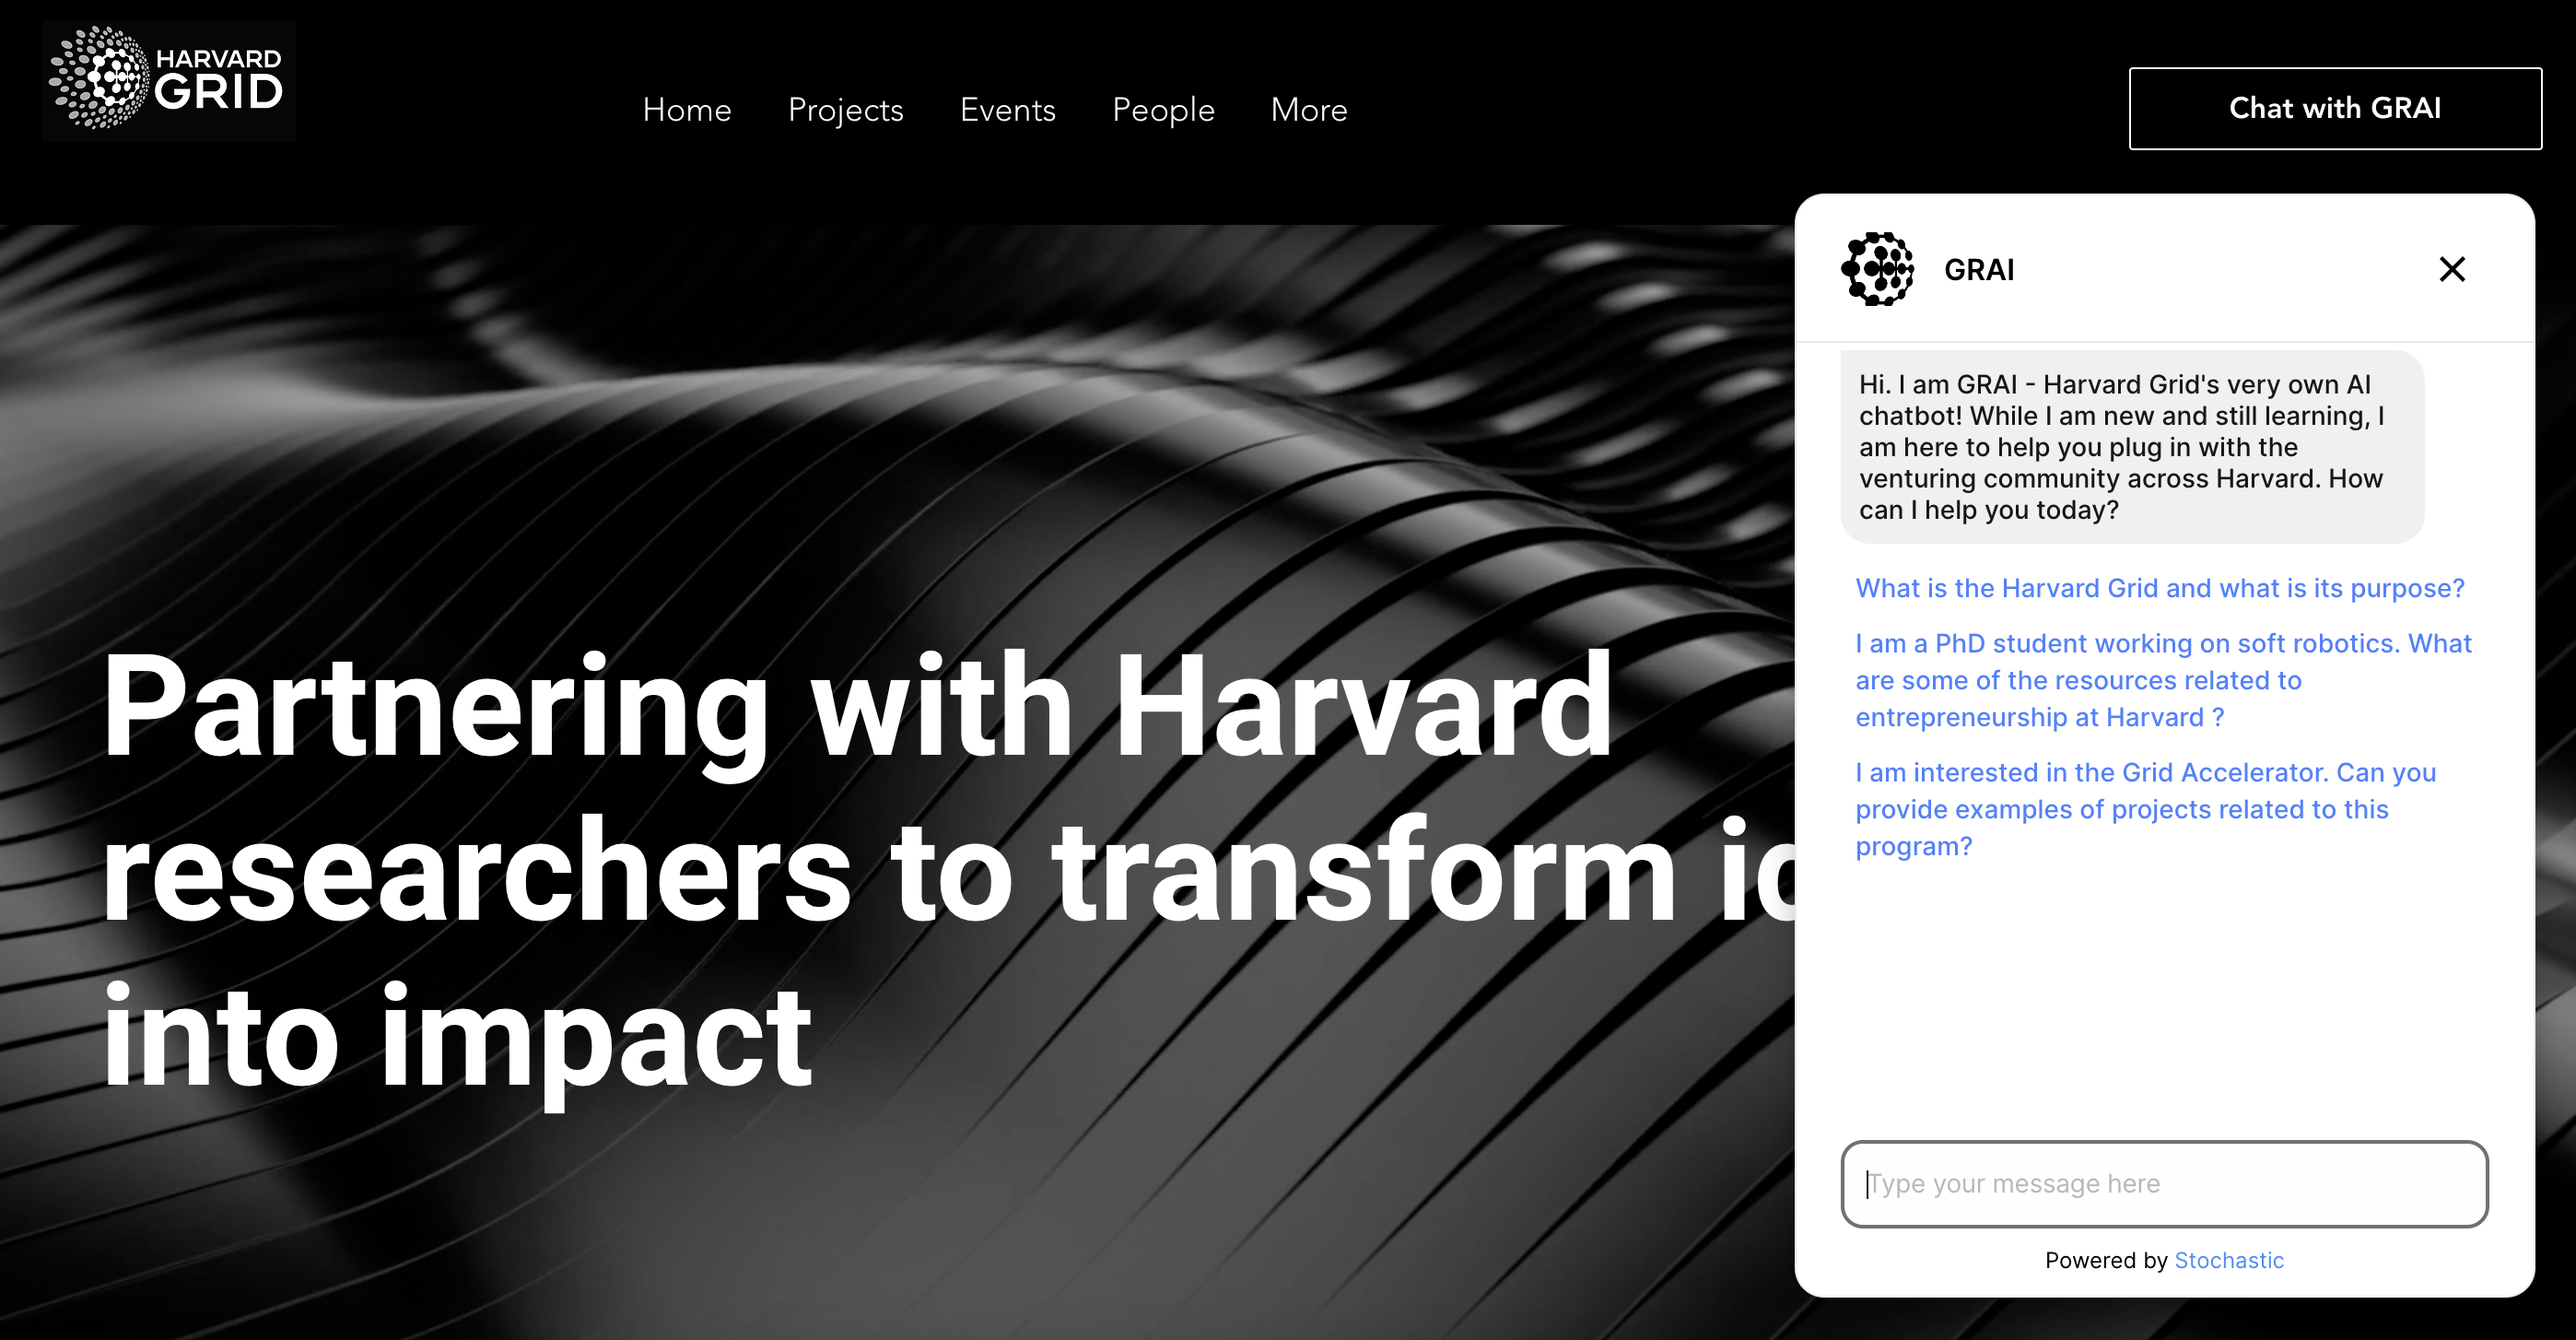
Step 8: Testing and Fine-Tuning
Visit your website and interact with your new chatbot to ensure it's working correctly. Make any necessary adjustments in xMagic to improve its performance and accuracy.
Conclusion
Congratulations! You've successfully created and embedded an AI chatbot on your website using xMagic. This chatbot will provide instant support to your website visitors, enhancing their experience and helping you engage with them more effectively.
Experiment with the different features and functionalities of xMagic to optimize your chatbot and make it an invaluable tool for your website.