➕ Share Chatbot
How to Invite Teammates to Your Project
Inviting teammates to your project on xMagic allows you to collaborate more effectively. Follow these steps to add new members to your project and assign them appropriate roles.
Step 1: Navigate to Project Settings
- Open the left sidebar in your xMagic dashboard.
- Click on
Project Settingsat the bottom of the sidebar.
Step 2: Manage Team Members
- Within the Project Settings, go to the
Manage memberssection. - Click on the
Invite peoplebutton.
Step 3: Enter Team Member Details
- Enter the email address of the person you want to invite in the provided field.
- Select the role you wish to assign to them from the dropdown menu. Options include:
- Admin: Can modify the knowledge base and manage project settings.
- Editor: Can interact with AI and submit requests.
- Member: Can only interact with AI.
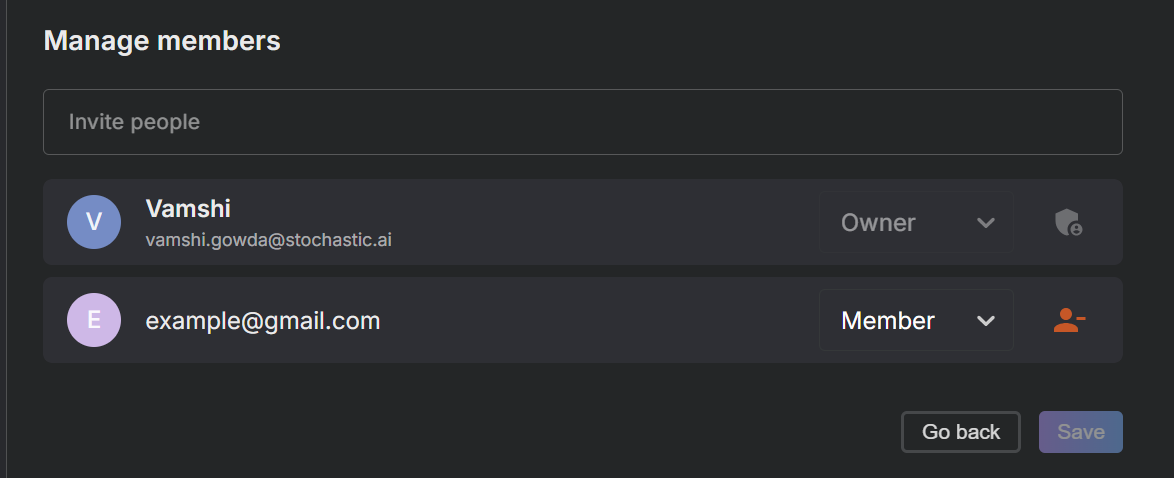
Step 4: Save and Send Invitation
- After setting the email and role, click the
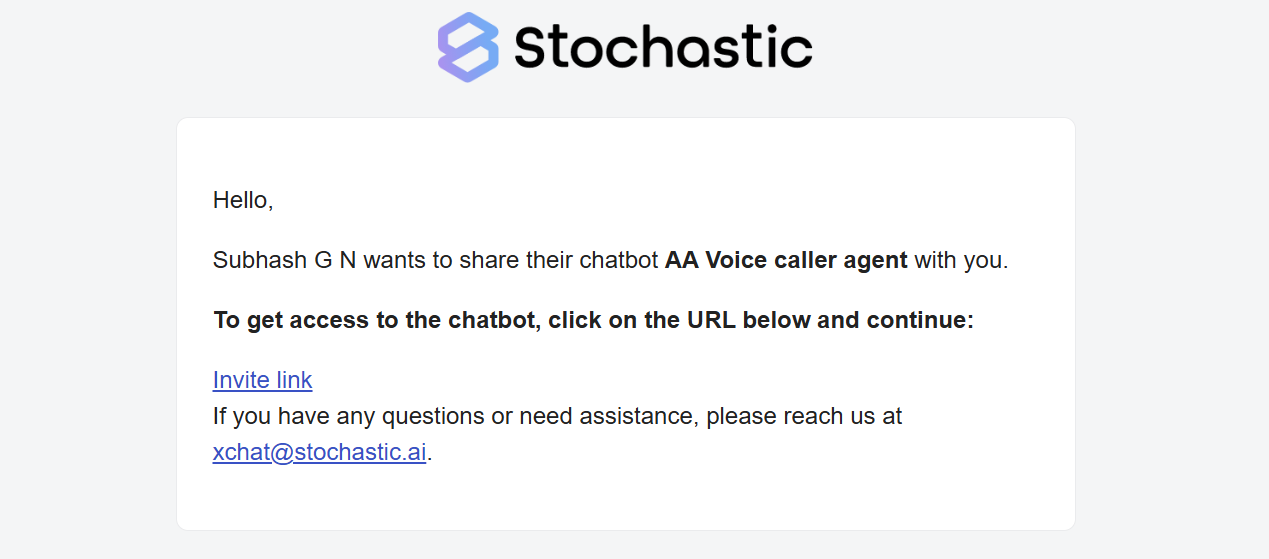
Savebutton to send an invitation to the team member. - The team member will receive an email with an invitation to join the project.
Note: Ensure that you have permission to add new members to the project. Contact your project administrator if you do not have the necessary rights.
Troubleshooting
If your team member does not receive the invitation email, advise them to check their spam or junk email folder. For further assistance, contact support@xmagic.ai.